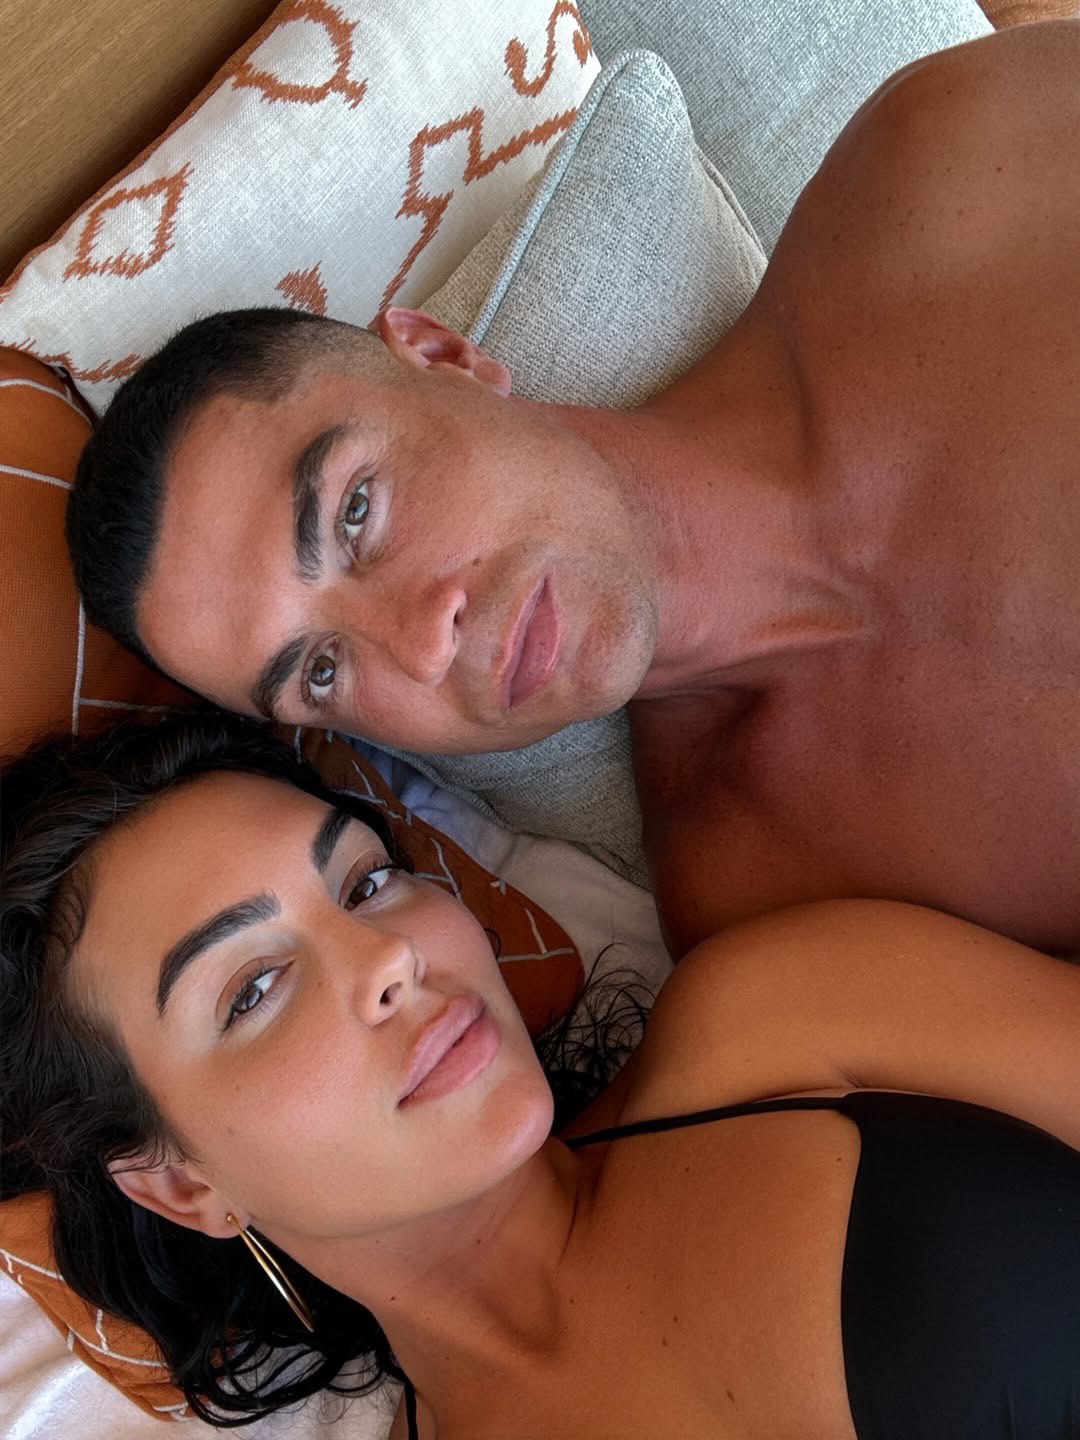
The early 2000s are having their full comeback, and anyone who came of age during those years knows exactly where it lands. The code returning with the most force is the one we grew up calling goddess. Draped gowns, braided hairstyles, and gold headbands, Grecian was the aspirational look of that era, and in 2026, it is quietly running the room again. Every revival needs a catalyst, and this one found Zendaya. For Christopher Nolan’s The Odyssey, she and stylist Law Roach spent the whole promo run method-dressing a Greek goddess, and they hit the high note at the New York, USA premiere.
She arrived in a white sculptural gown from Matières Fécales, feathered wings trailing the floor, her hair braided into a loose, lived-in plait by Coree Moreno, goddess energy dialed all the way up. The gown carries every ounce of the drama, which is precisely what frees the beauty to whisper. Her makeup artist Ernesto Casillas gave her a face that reads as a complexion. Bare, glazed, sun-warmed skin, with a tan painted on in blush. That tension, maximal fashion against barely-there beauty, is the whole reason the look detonated.
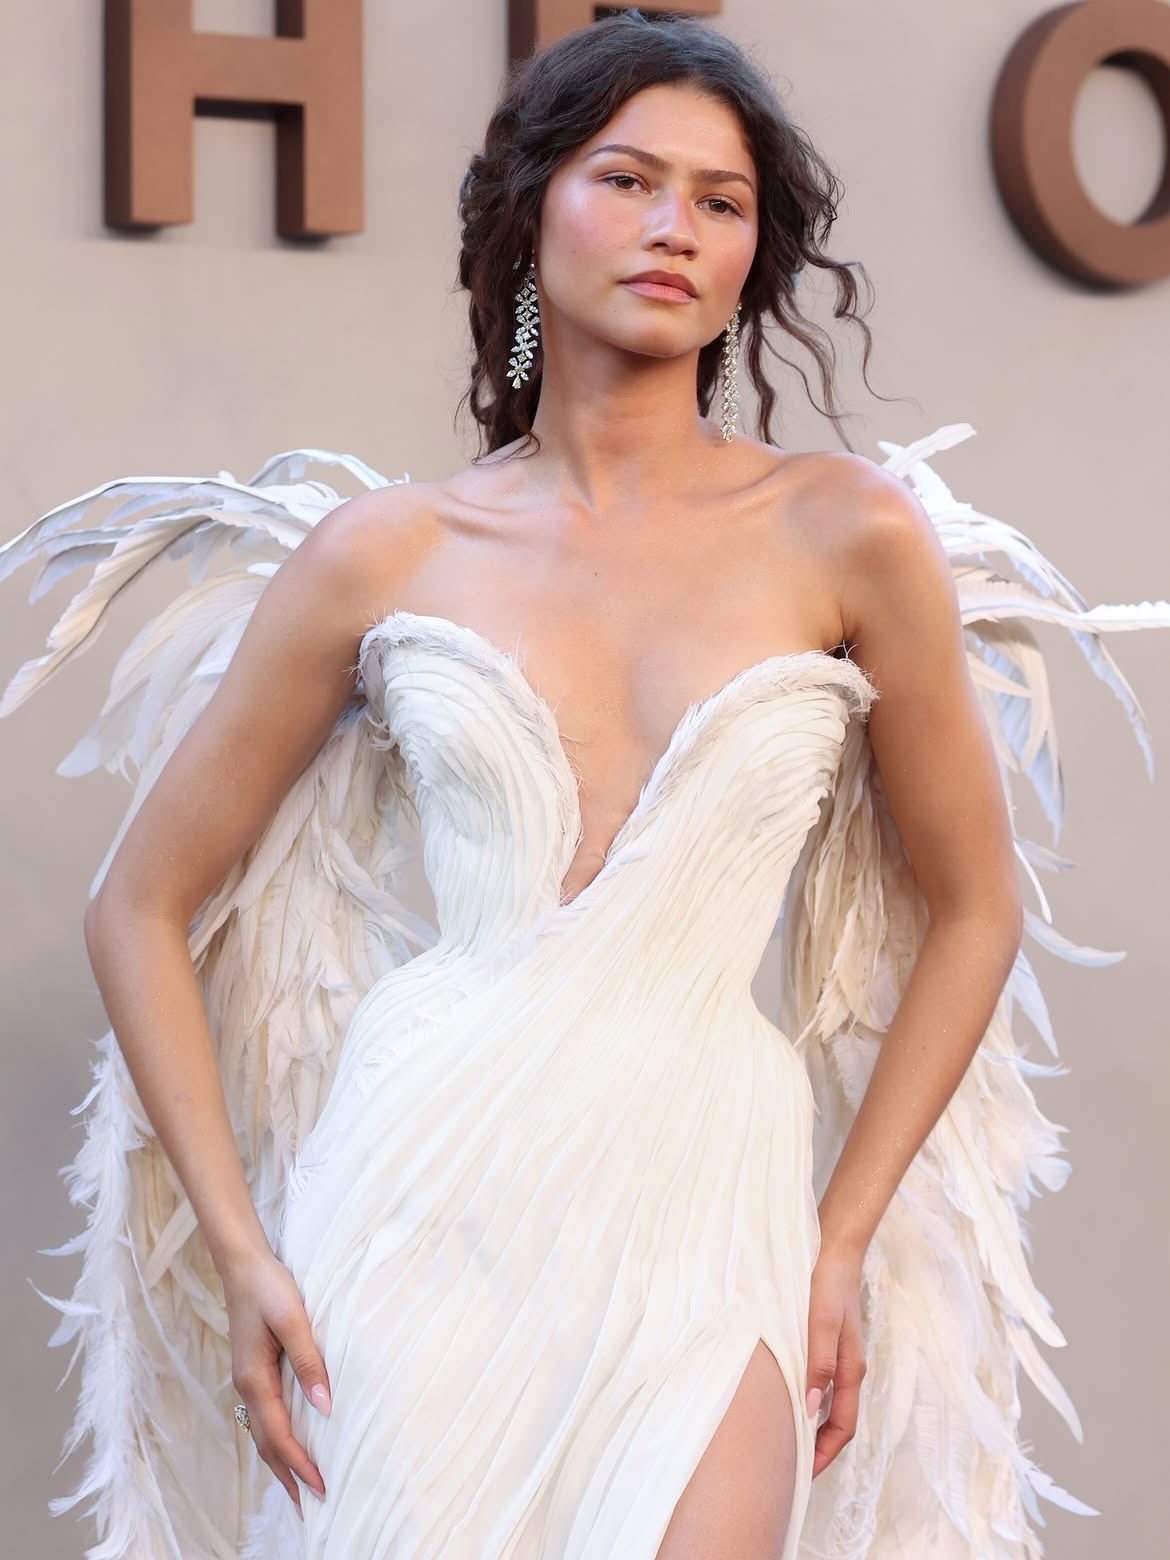
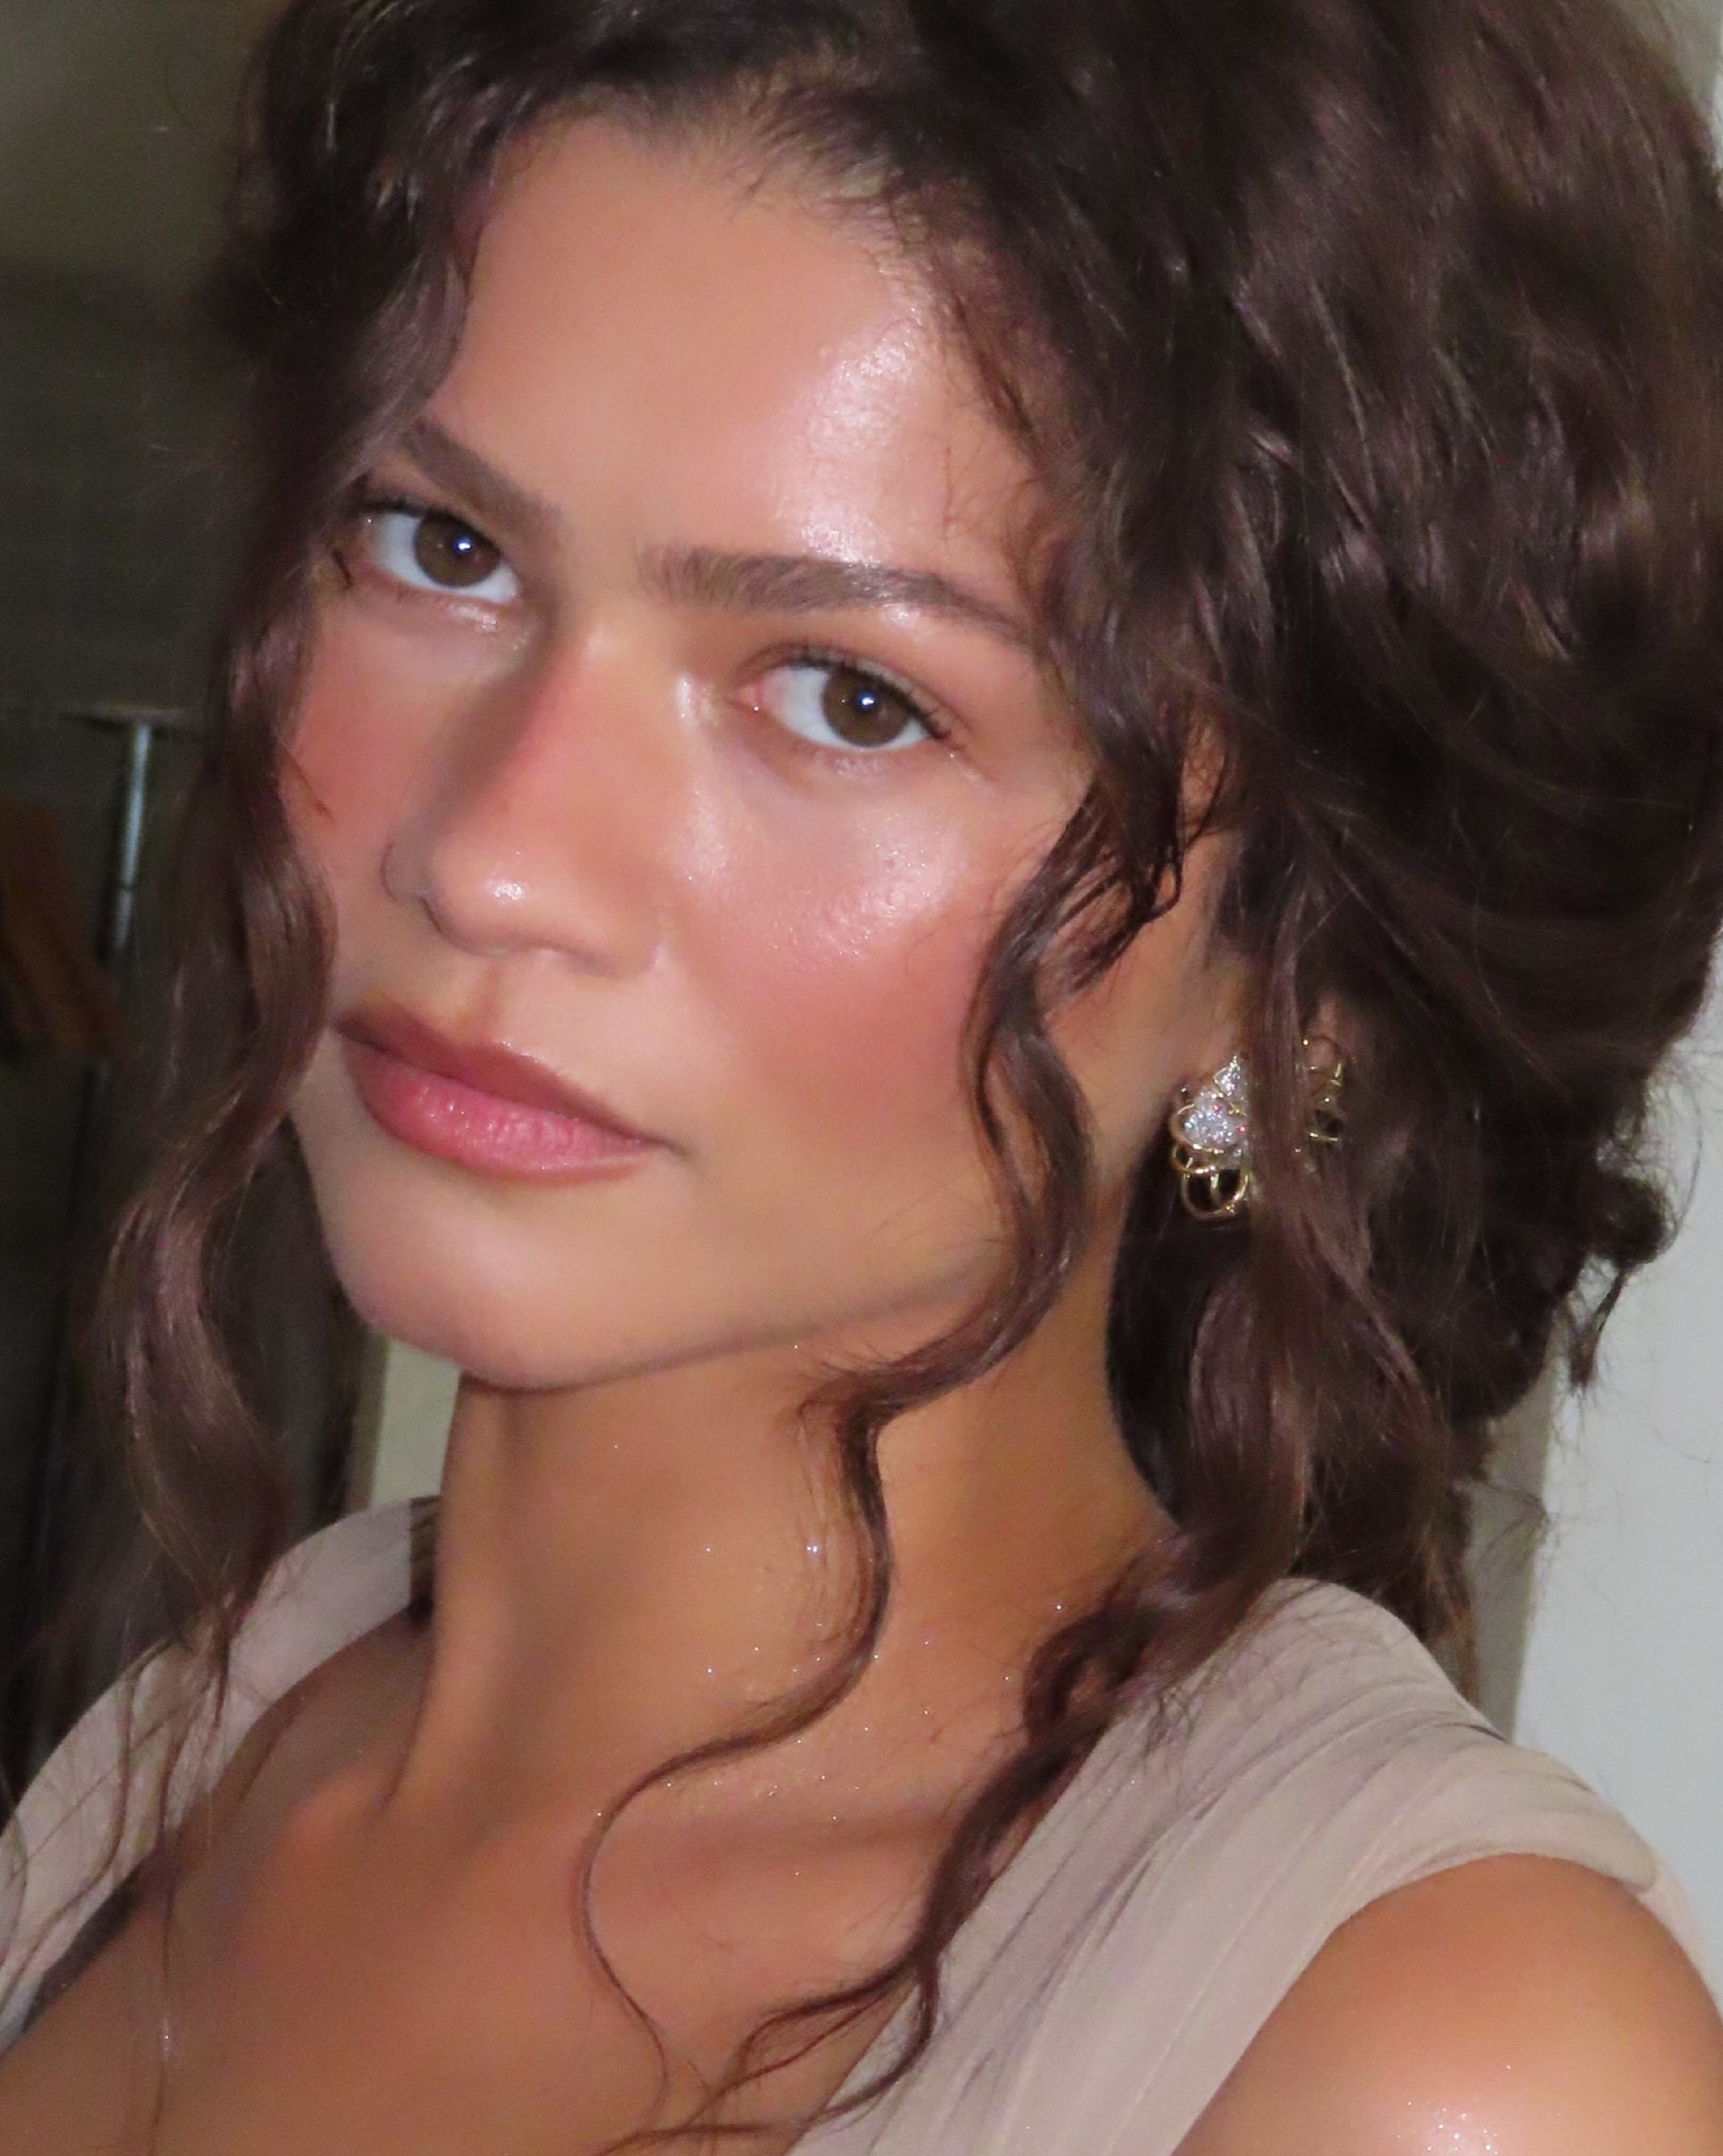
Photo: Getty, Courtesy of Ernesto Casillas
The Viral Goddess Braid
The braid Coree Moreno gave us is the most Grecian note in the entire look. A loose fishtail, deliberately deconstructed, with soft pieces slipping free around the face. Read it as the braided crown of the 2010s grown up and let out of its pins.
1/ Start with texture over polish. Wave the hair with an iron, let the curls cool fully, then break them apart with your fingers into soft, undone bends. Cooled curls hold their shape far longer, so leave them alone until they set.
2/ Work in flexible hold. Run a texture spray through the mid-lengths and ends (Moreno reached for Nexxus AIR SHAPE Workable Hold Texture Spray) for airy volume that still swings when you move.
3/ Braid it loose, on purpose. Gather everything into a fishtail and keep the tension relaxed the whole way down. A tight, neat plait works against the mood here.
4/ Pancake the braid. Gently tug the edges outward to widen it and build dimension, so the finished plait looks full rather than skinny. Pro tip, from Moreno: pull a few face-framing pieces loose and leave them there. The imperfection is the entire point.
5/ Lock the shape. Finish with a firm-hold hairspray (Nexxus Maxximum Firm Hold) so the braid lasts the night without stiffening into a helmet.
Inside the Beauty: The Artist and His Kit
Casillas built the face start to finish on Prada Beauty, and his working ratio is the part worth stealing. Roughly 80 percent of the effort goes into skincare and prep, and 20 percent goes into color. The glow reads like light coming from under the skin because that is exactly what it is: hydrated, pressed-in skin catching the light on its own terms. He has said openly that the technique carries over to whatever already lives in your bag, so treat the products as the map and the method as the gospel.
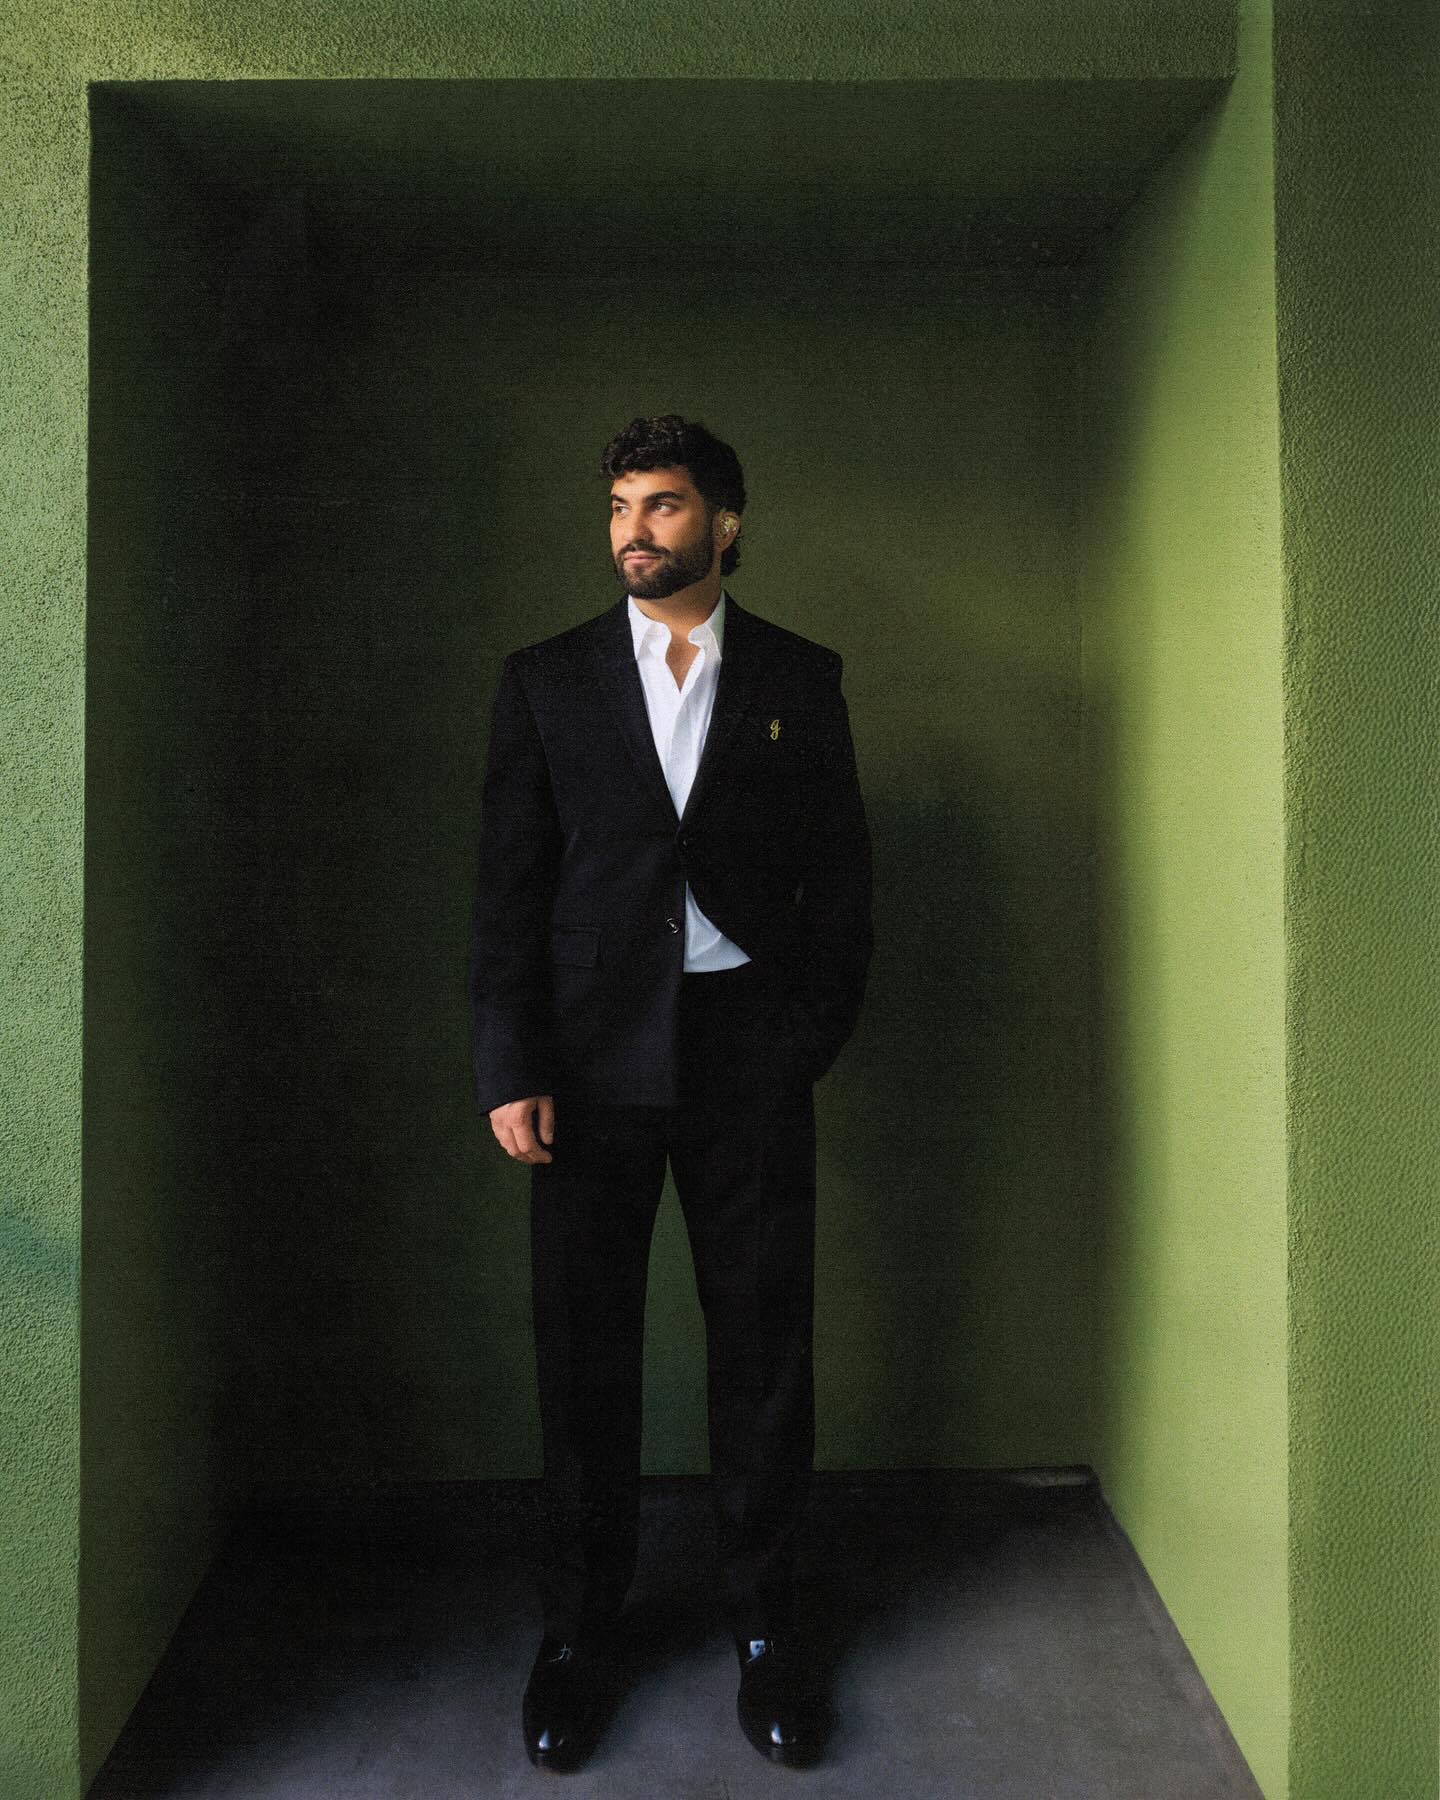
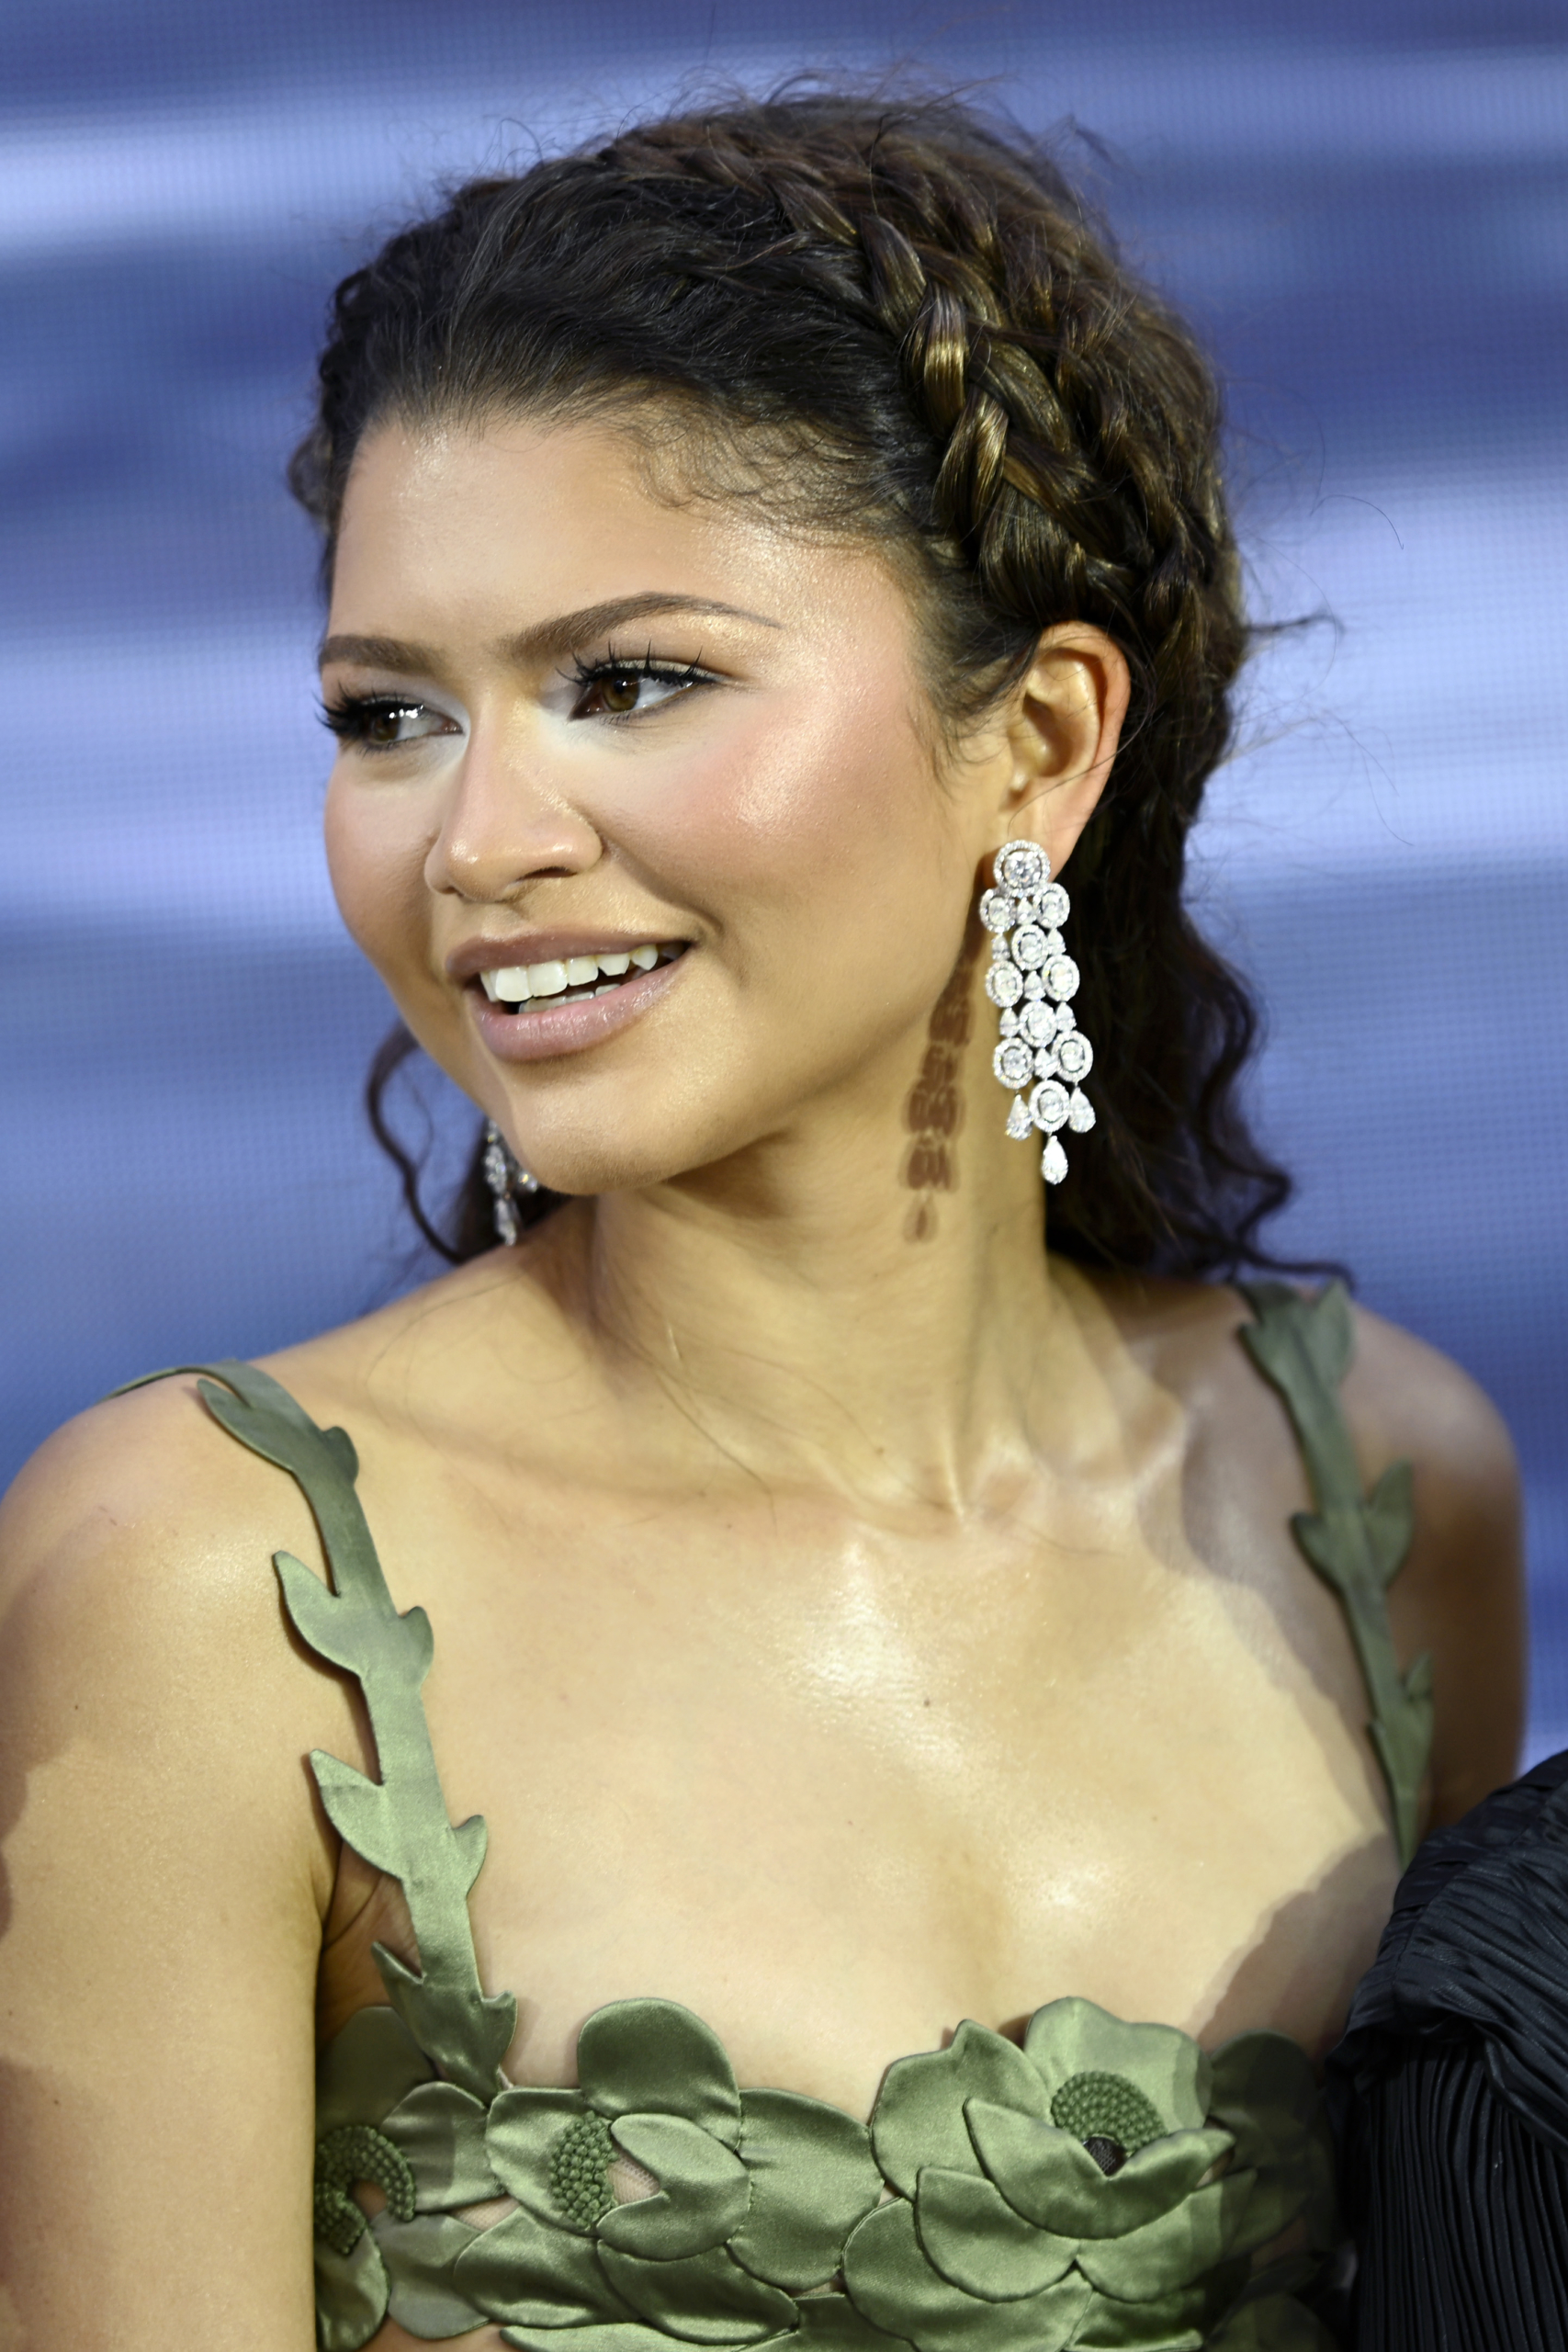
Photo: Courtesy of Ernesto Casillas, Getty Images
Here is the the kit Casillas used:
Prep: Prada Augmented Skin Cream and Eye Cream.
Base: Prada Reveal Skin Optimizing Foundation with Augmented Skin Essence.
Tan blush: Prada Cream-to-Powder blush in Caffè, a mocha brown.
Flush: Prada Cream-to-Powder blush in Cherry, a true red.
Lips: Prada Balm in Astral Pink, a pH-reactive tint.
Glow: Prada Balm in Universal, a balm highlighter.
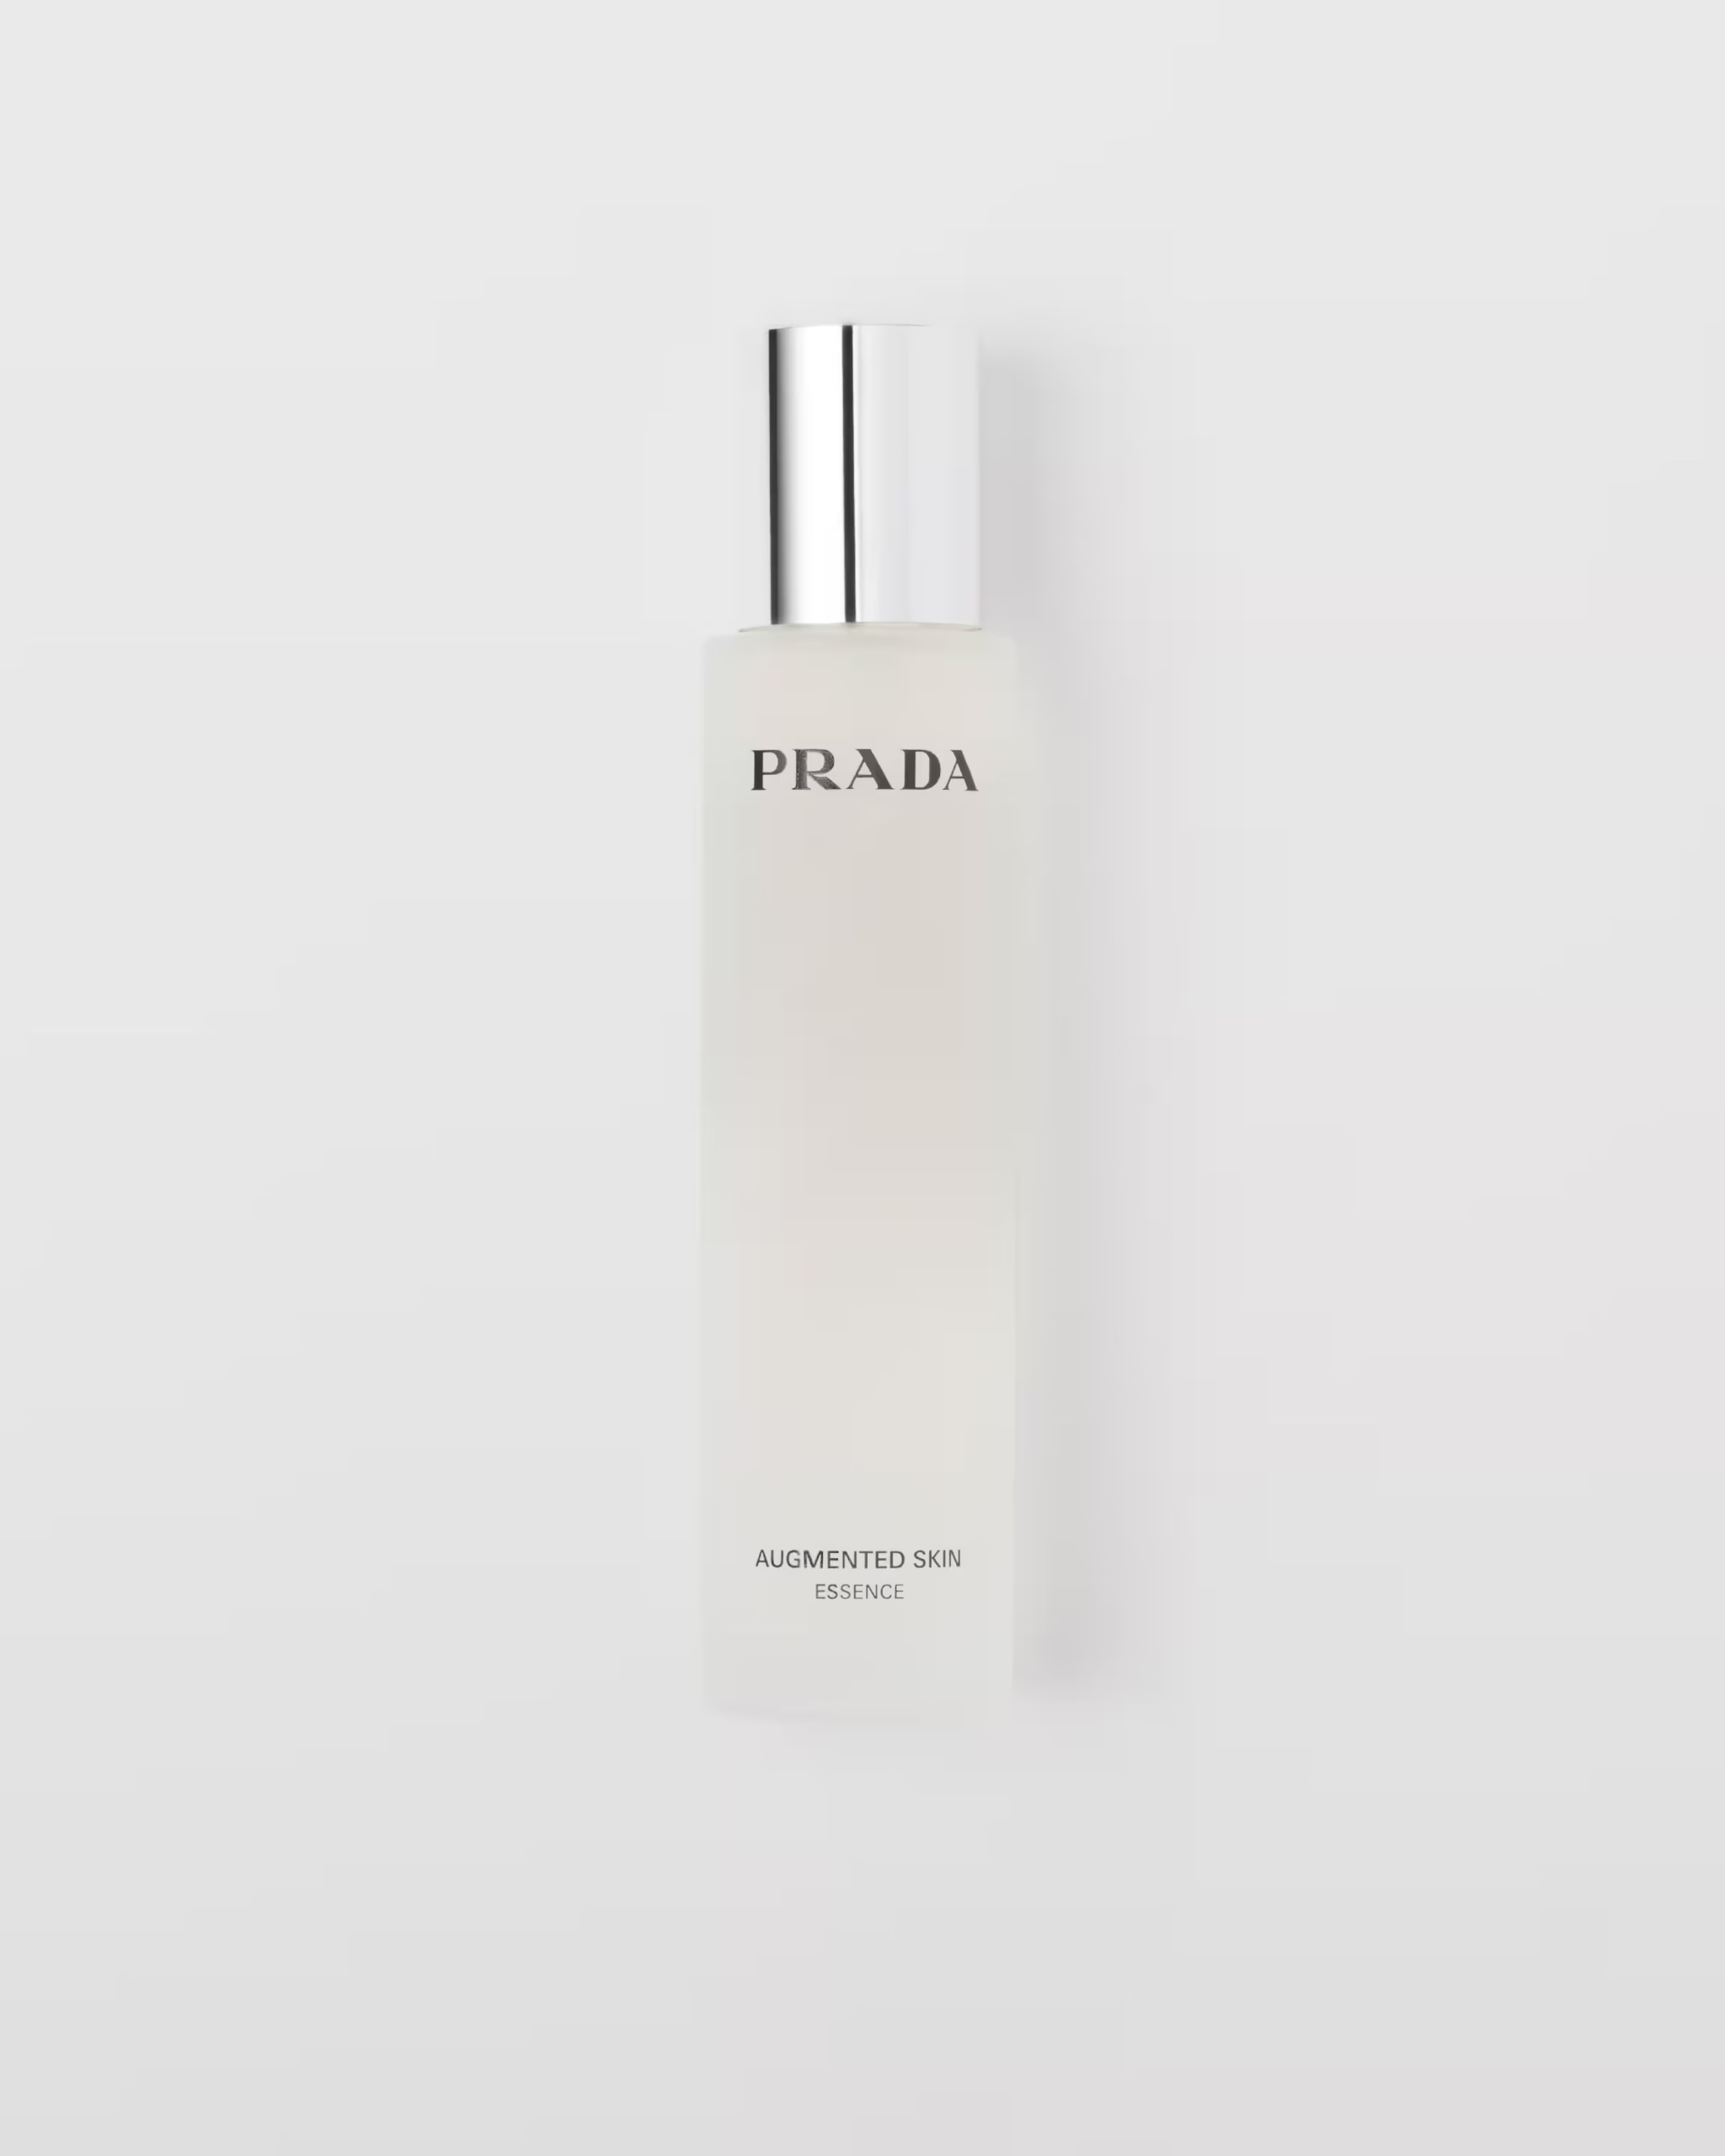
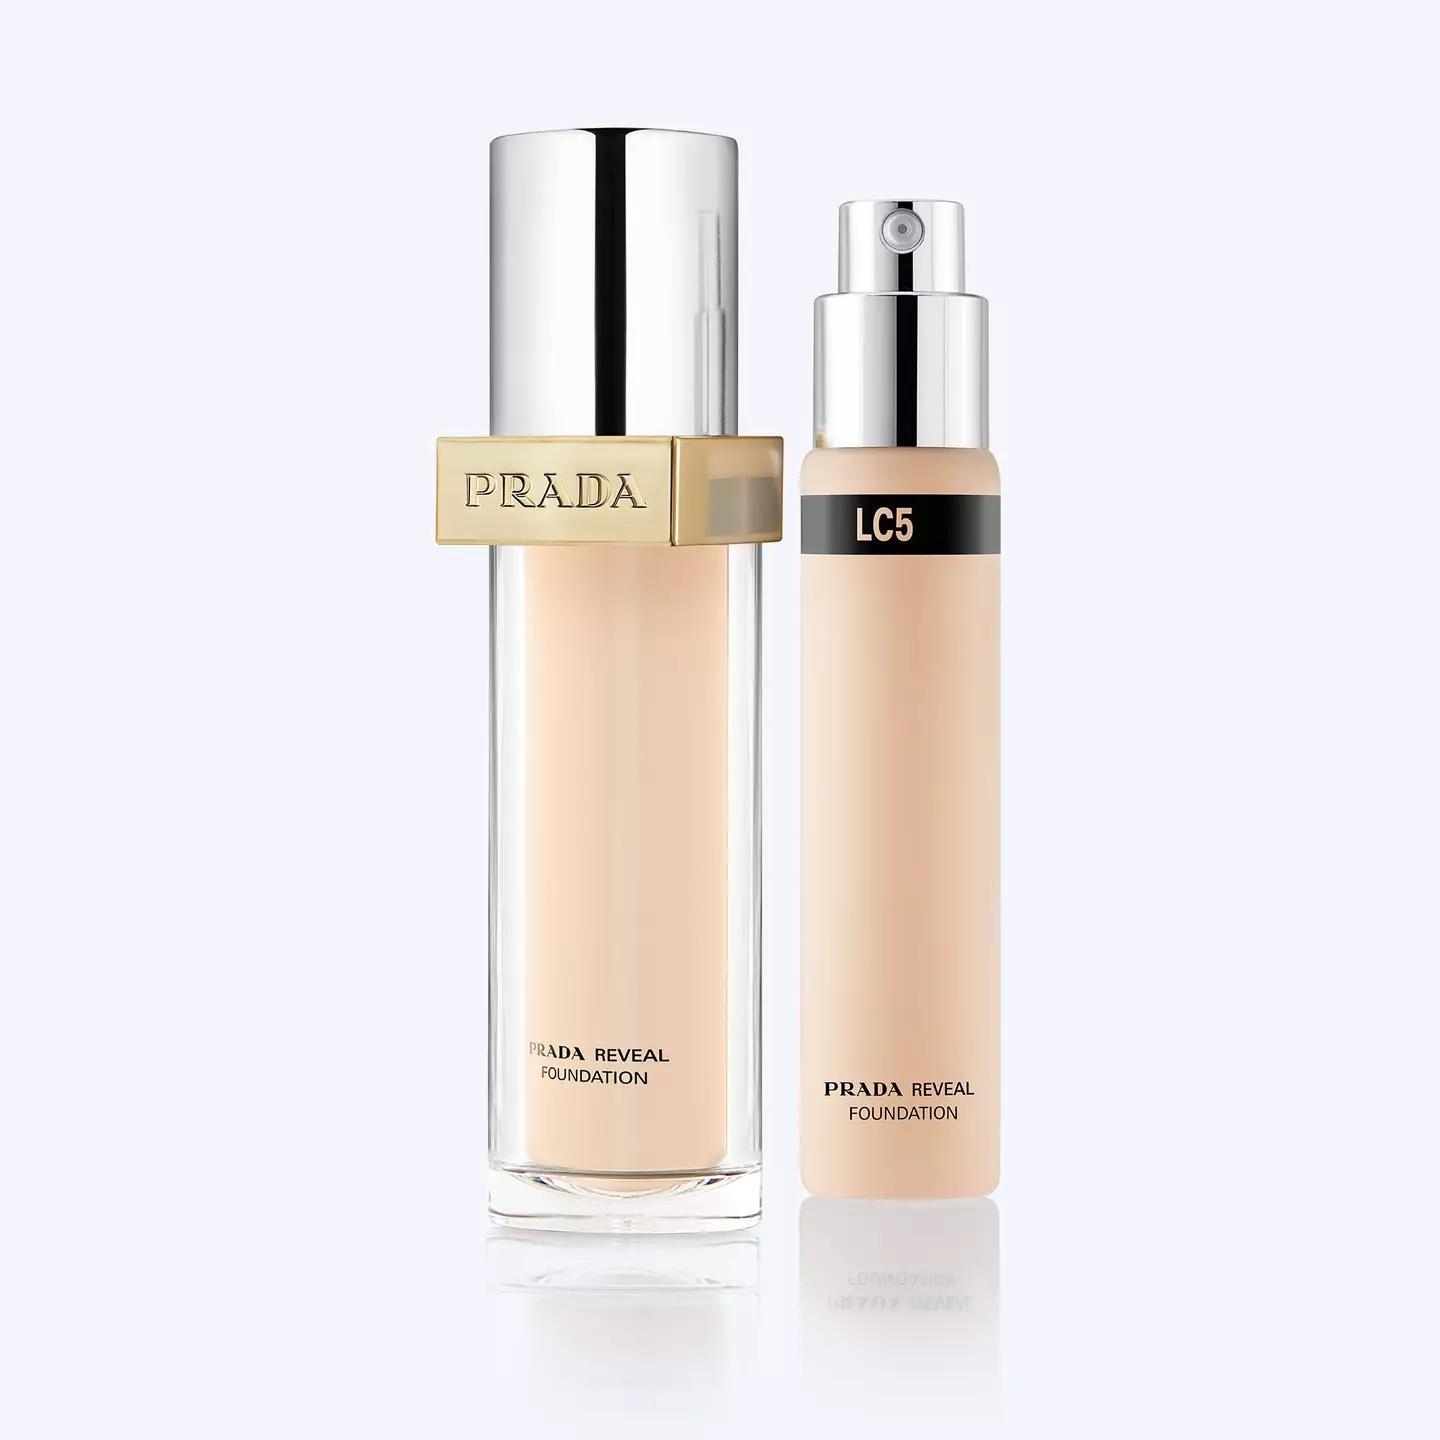
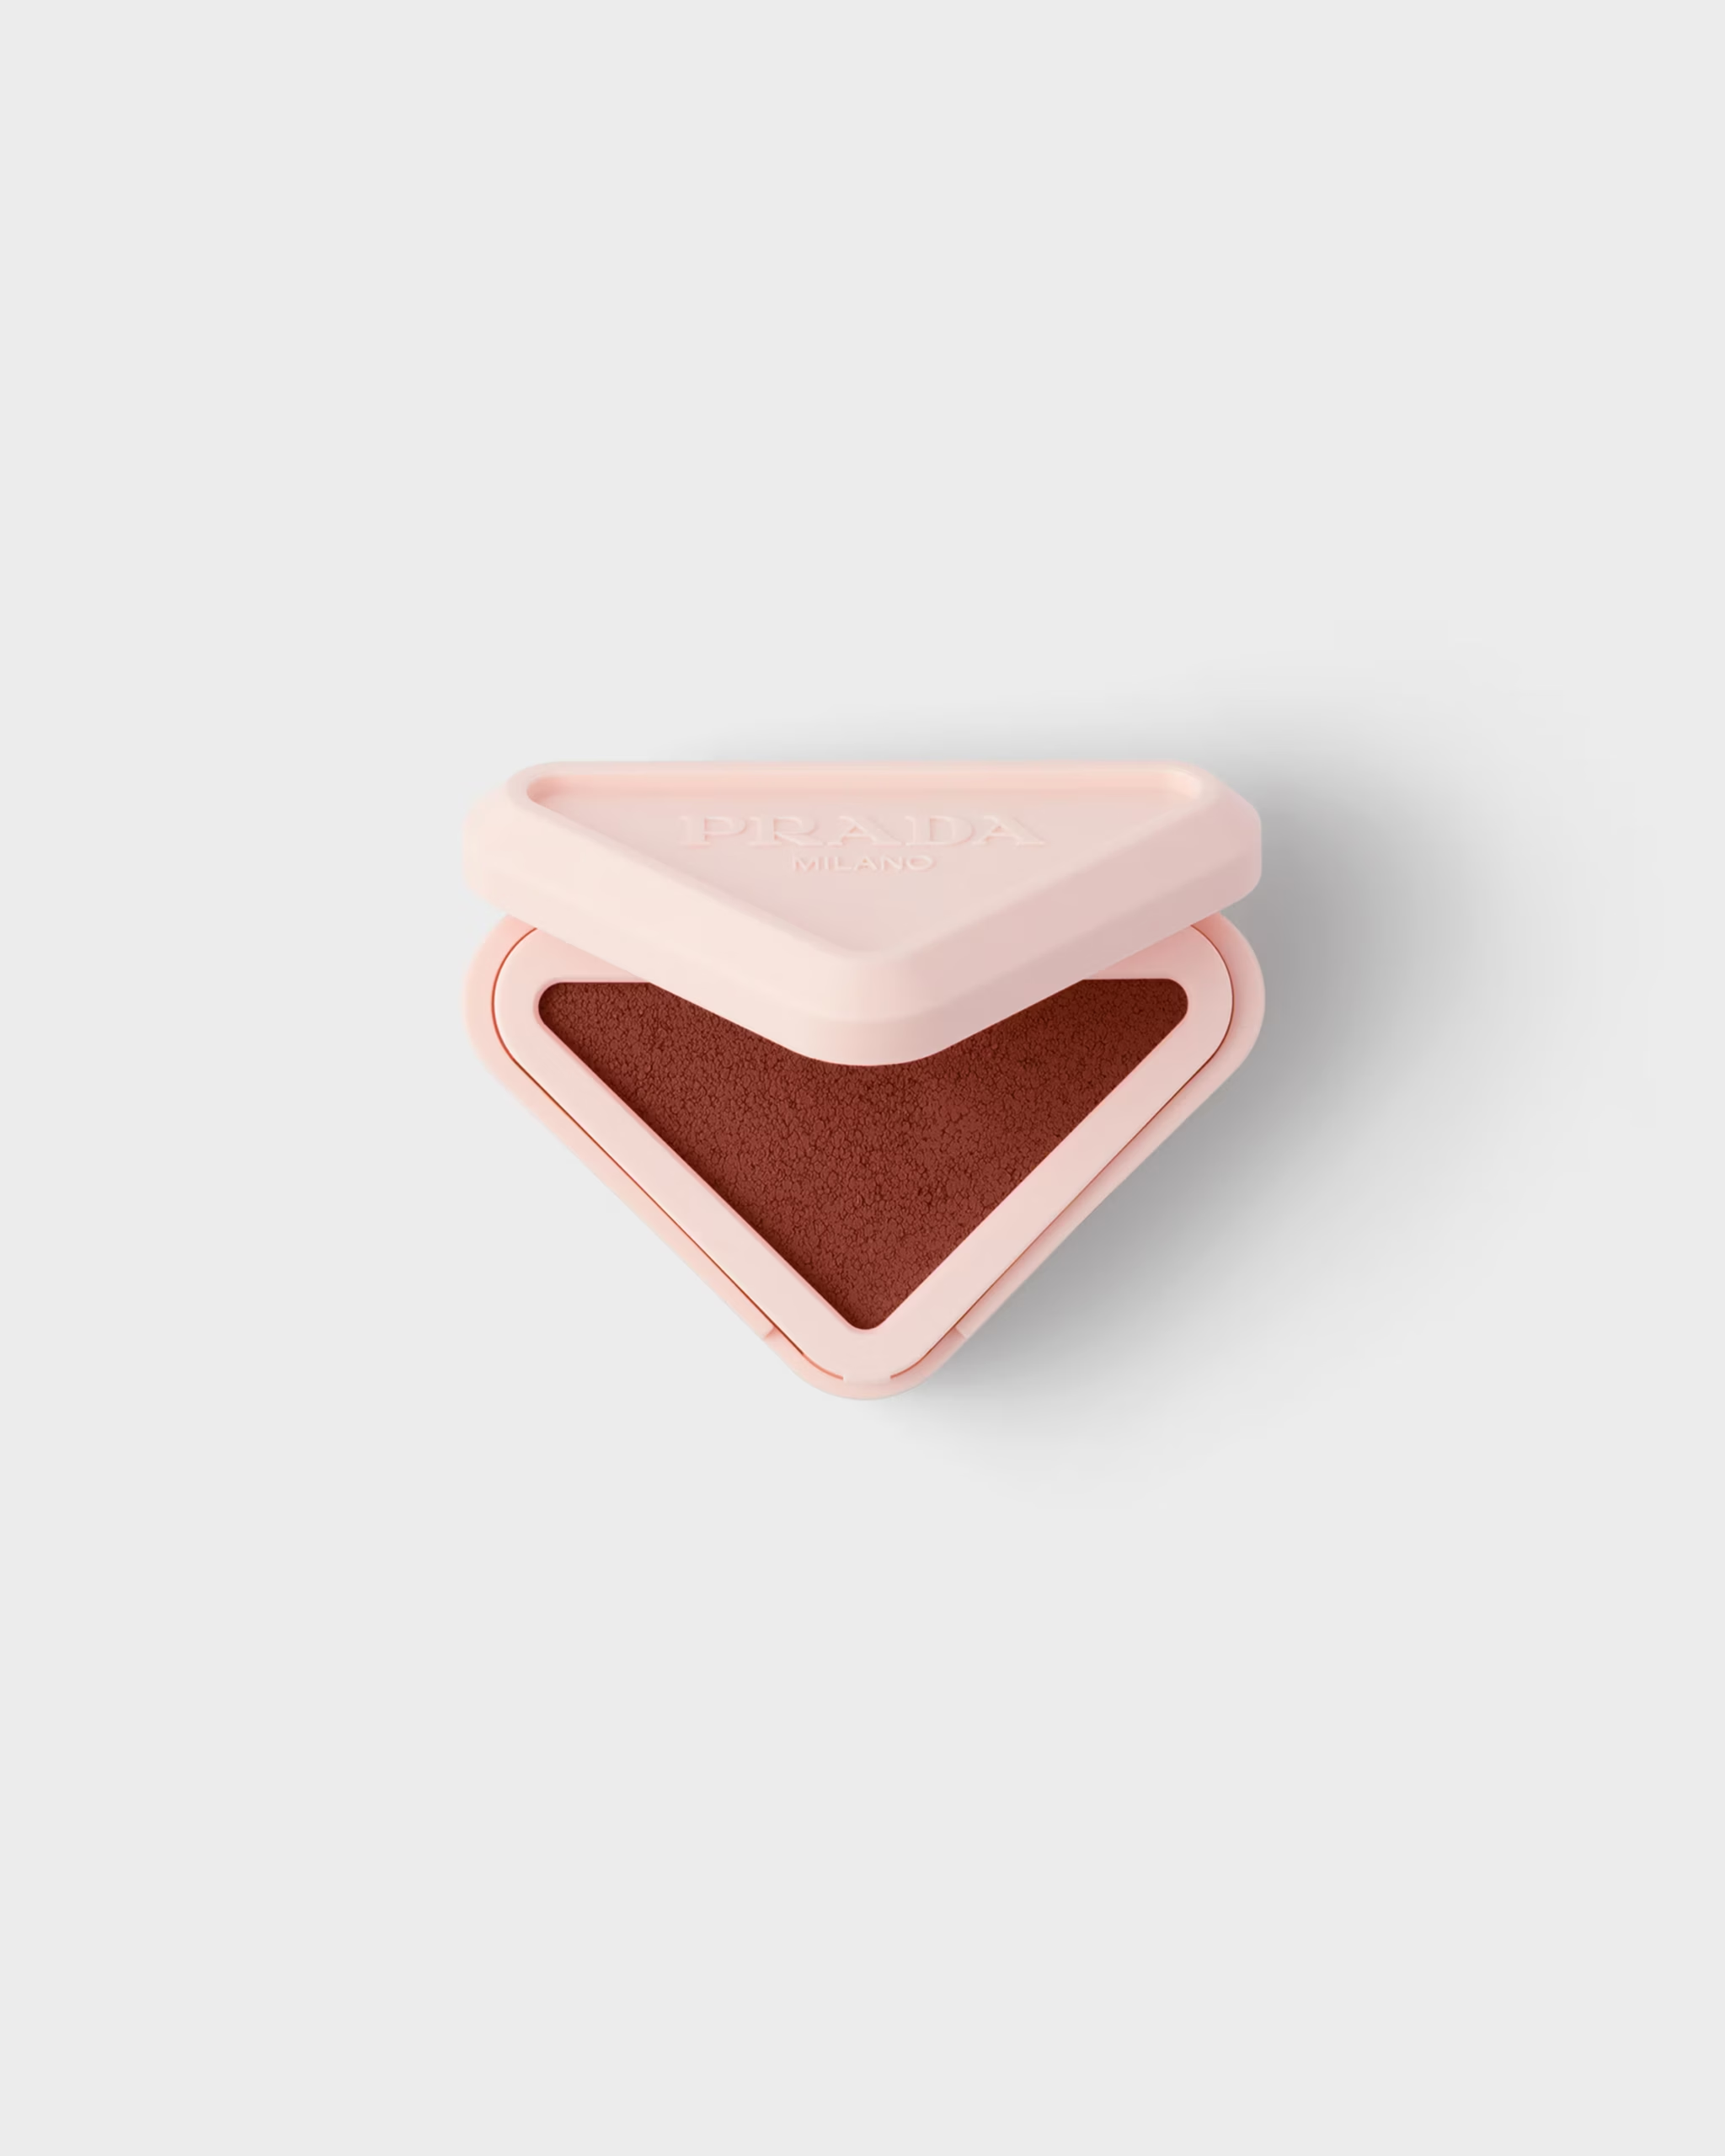
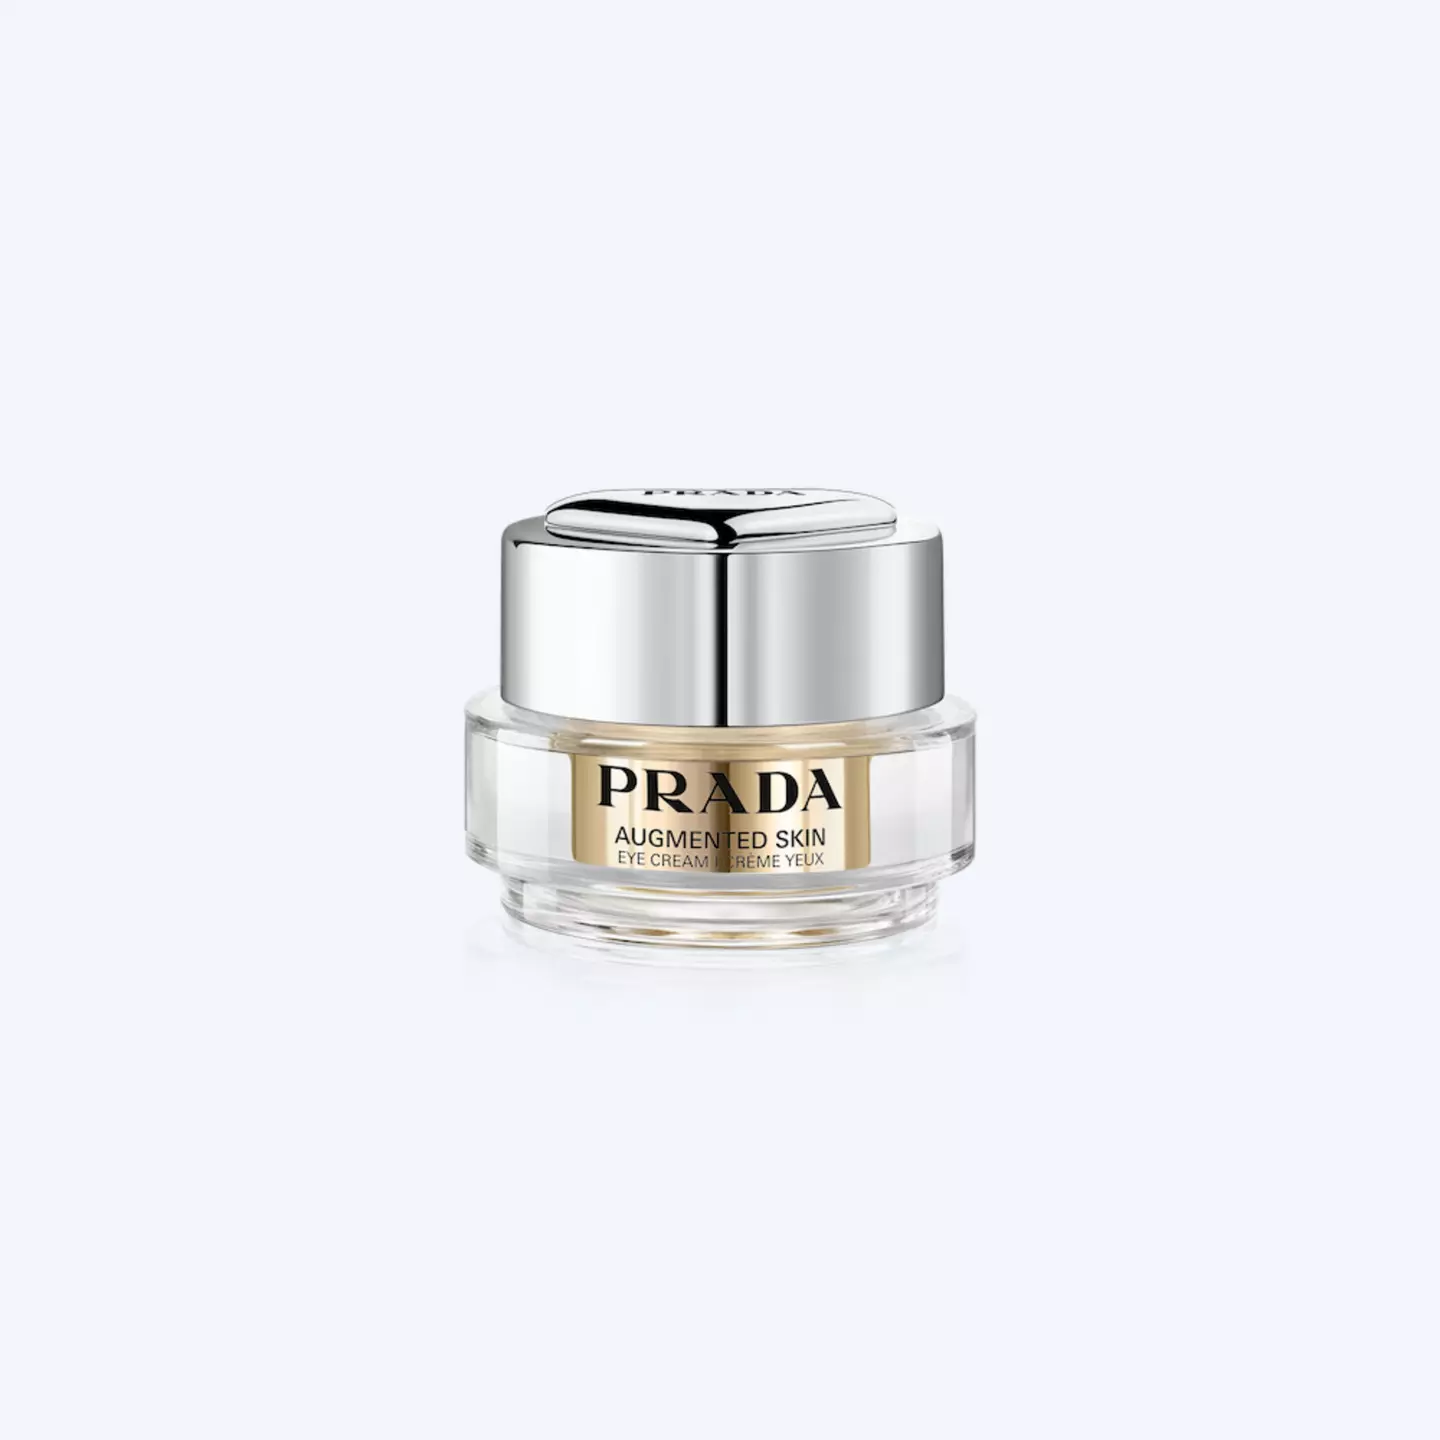
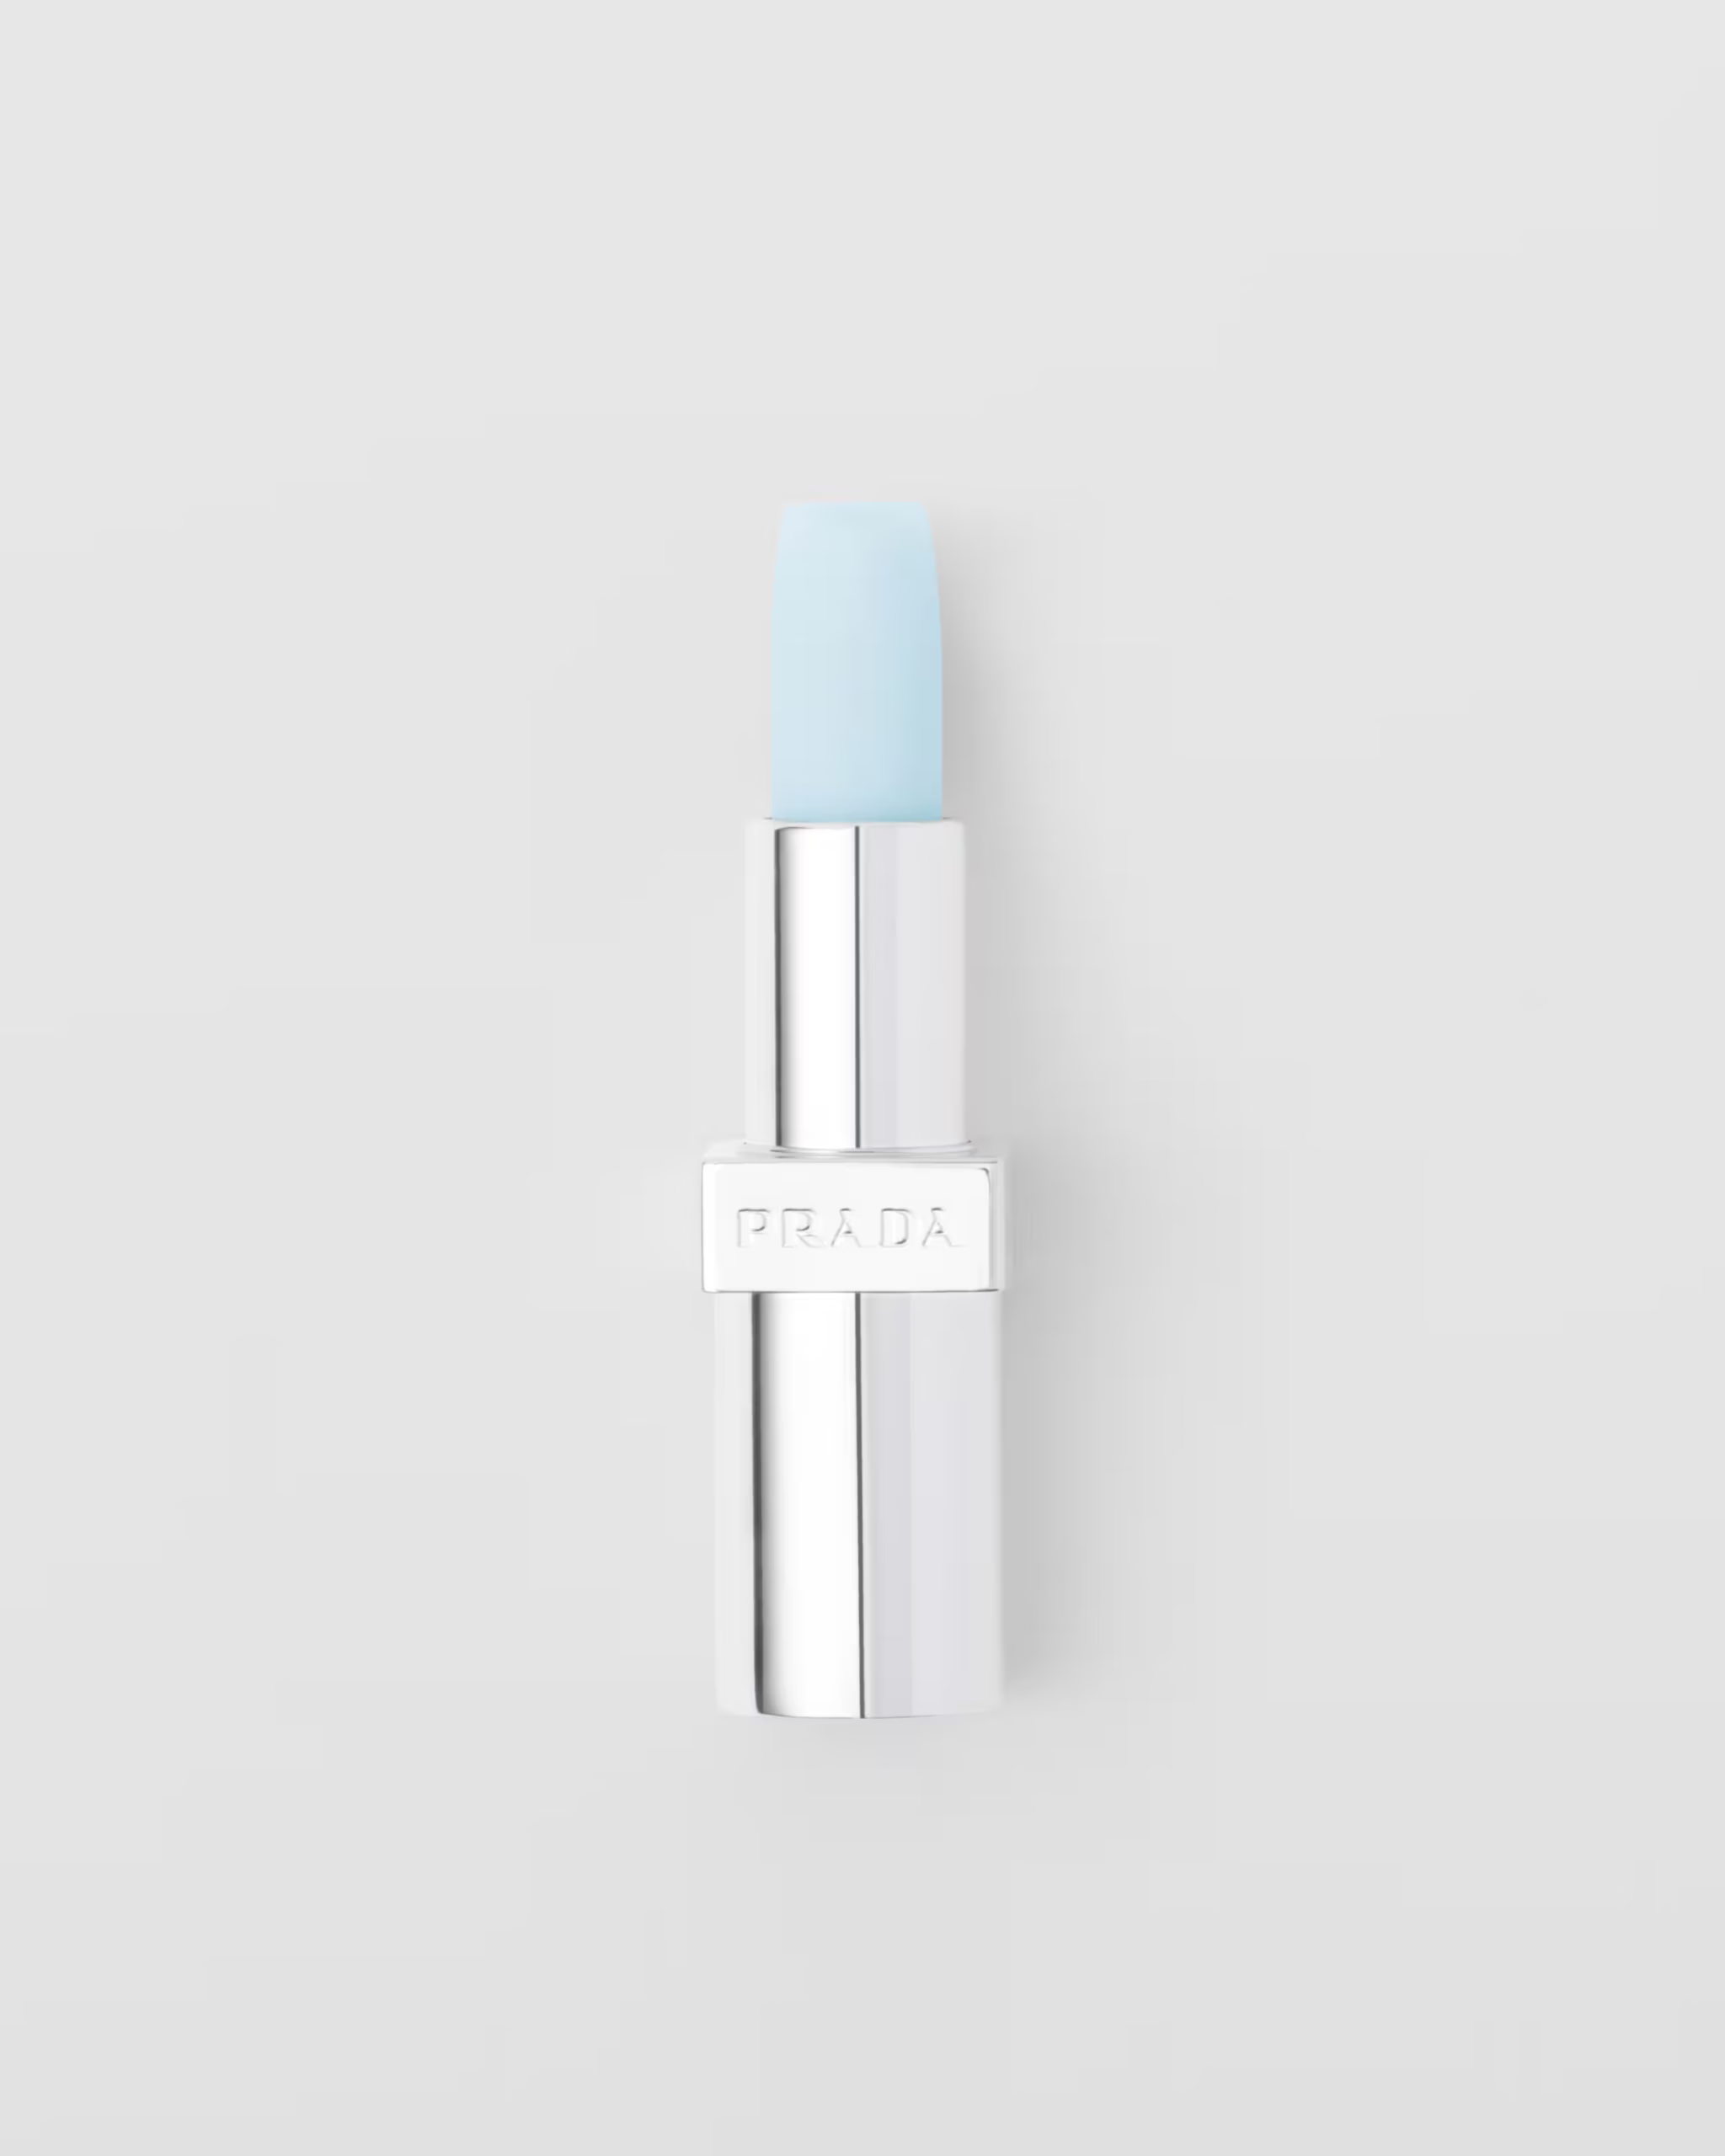
Undone Ethereal Makeup: Step by Step Guide
The whole thing hinges on a handful of small, almost sneaky moves. Here is the sequence, with the tricks that separate goddess skin from a flat base.
1/ Treat prep like the main event. Casillas spends most of his time here, so you should too. Layer a rich moisturizer and eye cream and let them sink in properly. Press a few extra drops of hydrating serum into the high points of the face, the tops of the cheeks and the bridge of the nose, so that is where the light pools later. Prepped skin is the glow. The rest is trim.
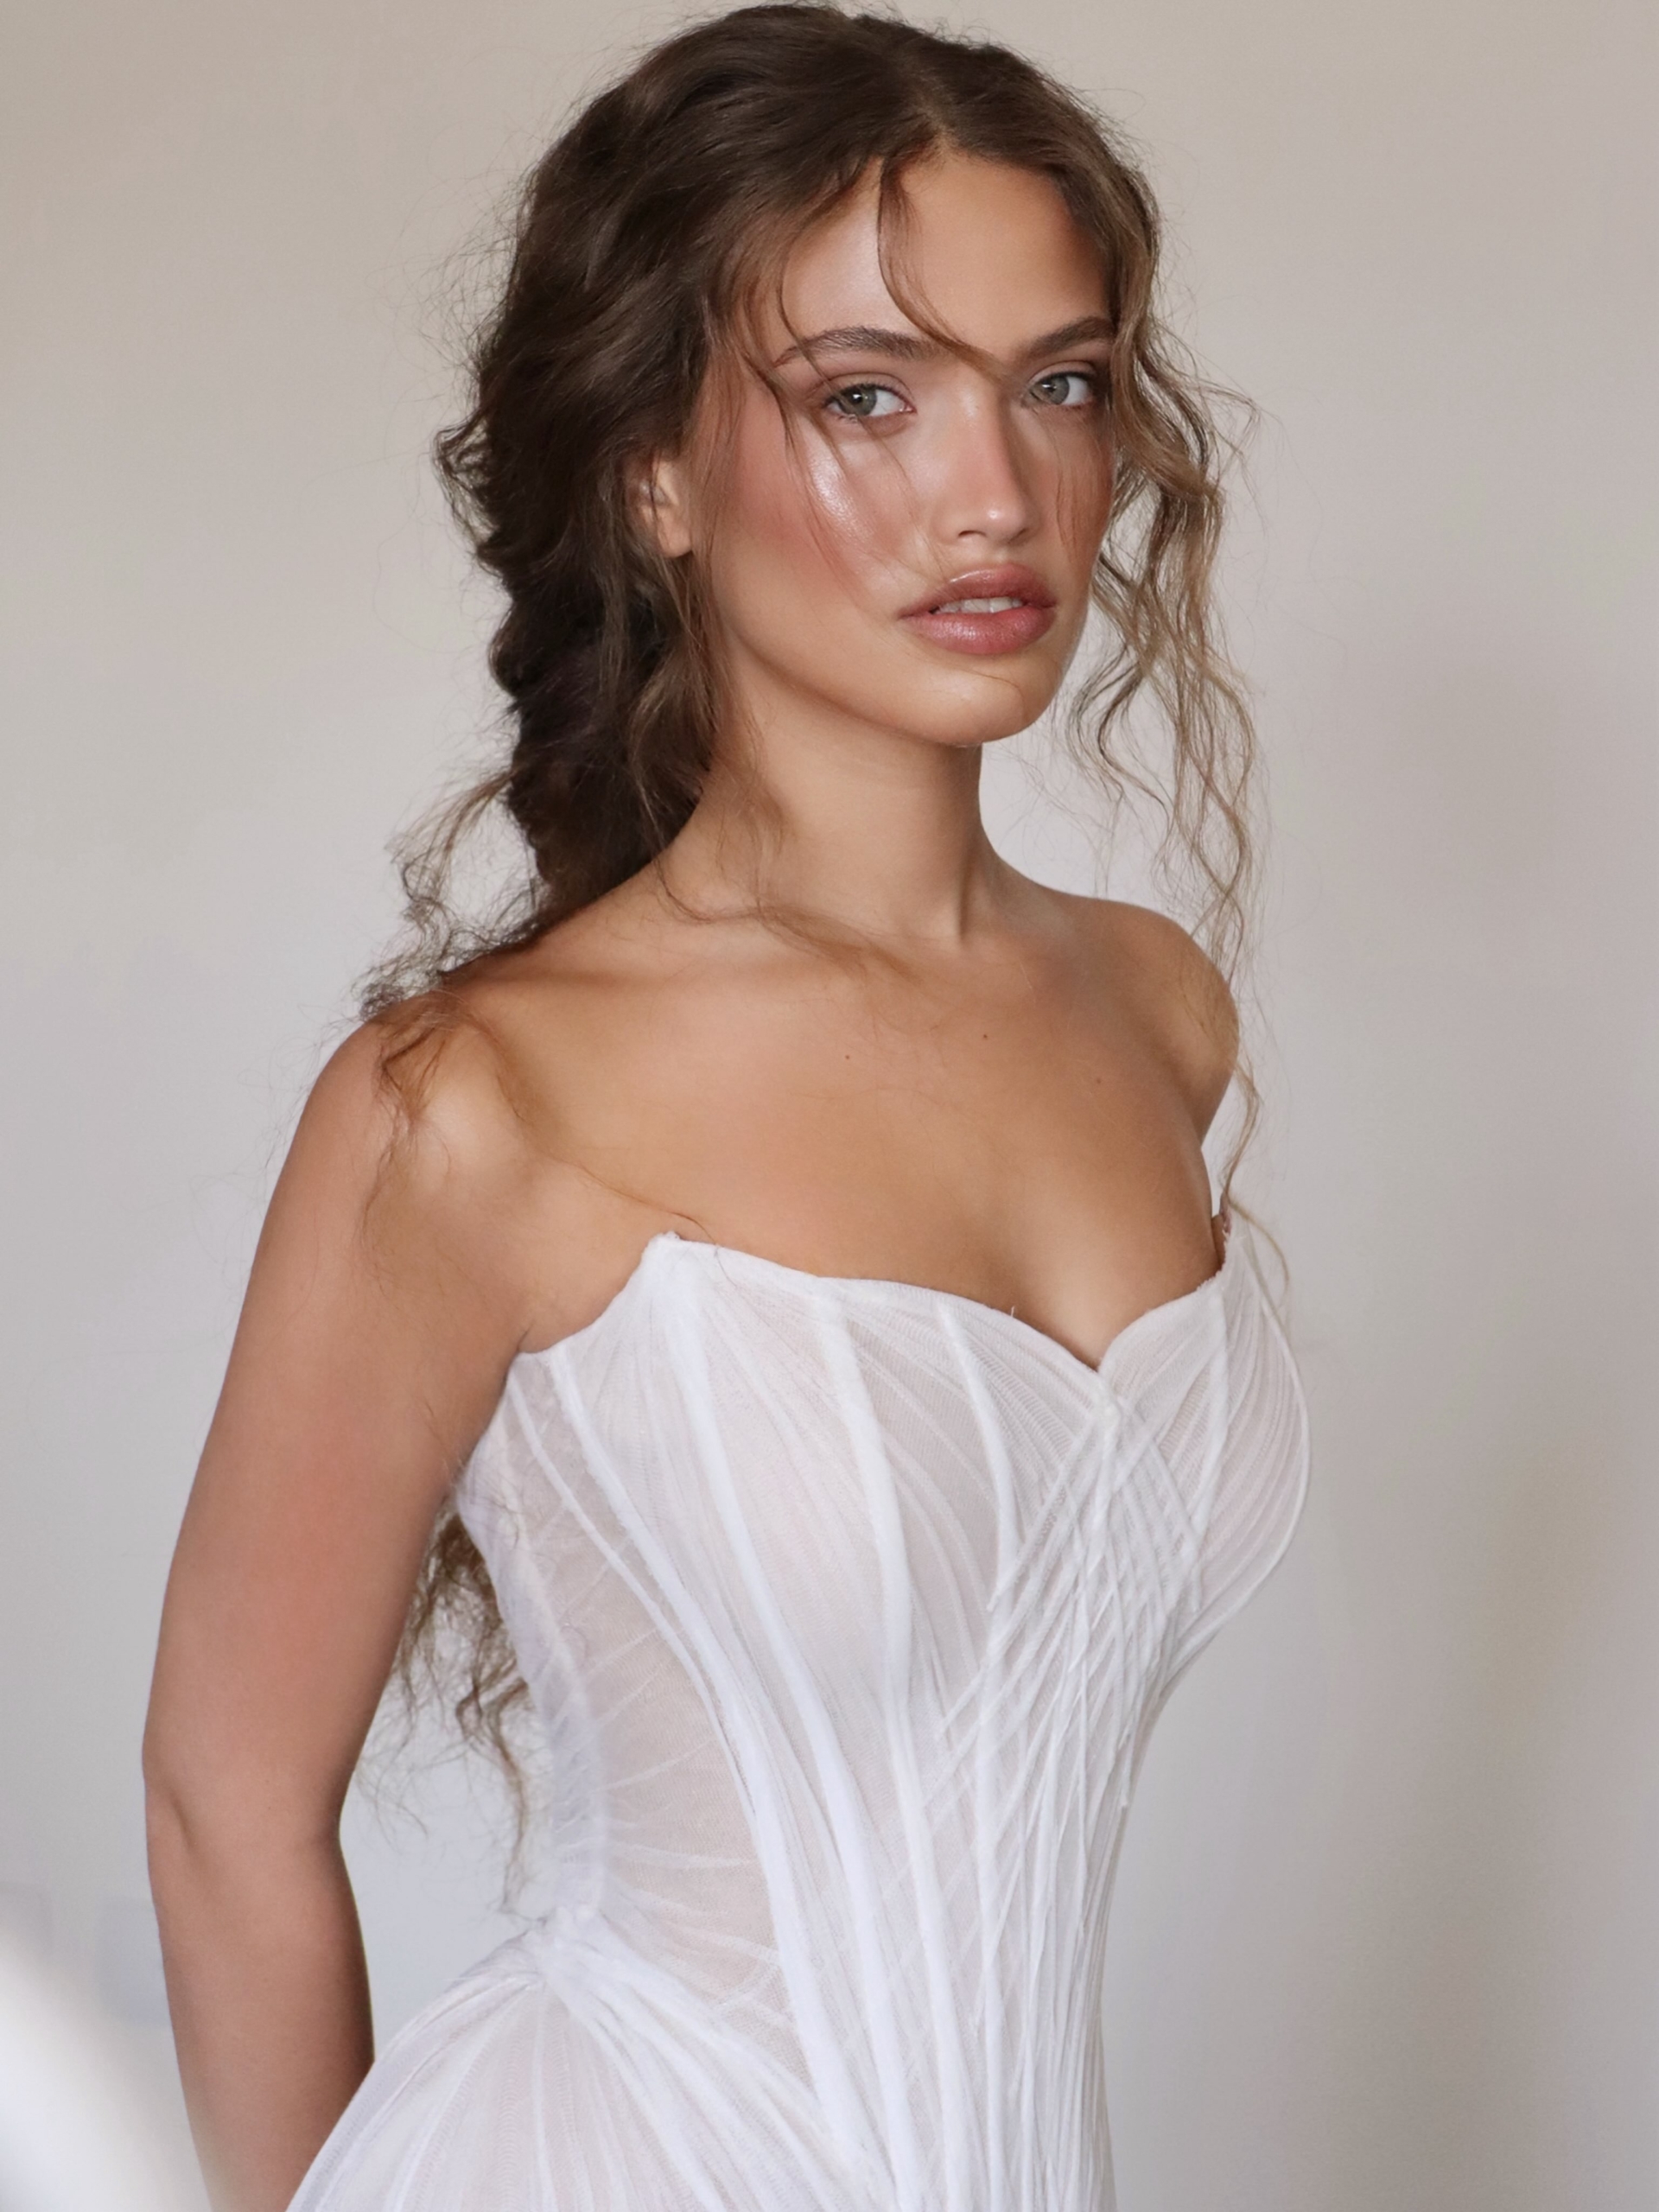
Makeup: Ortal Elimeleh, Bianca Brown
2/ Cocktail your base. Loosen your foundation or skin tint with a drop of serum on the back of your hand, then press it in with a damp sponge. Bounce the sponge, keep it moving in taps rather than drags, and your own skin texture stays visible underneath. That visible texture is the thing that photographs as real. Take coverage only where you actually want it.
3/ Brighten in two spots, then stop. A touch of concealer under the eyes and over any redness keeps the face awake while leaving skin on display everywhere else.
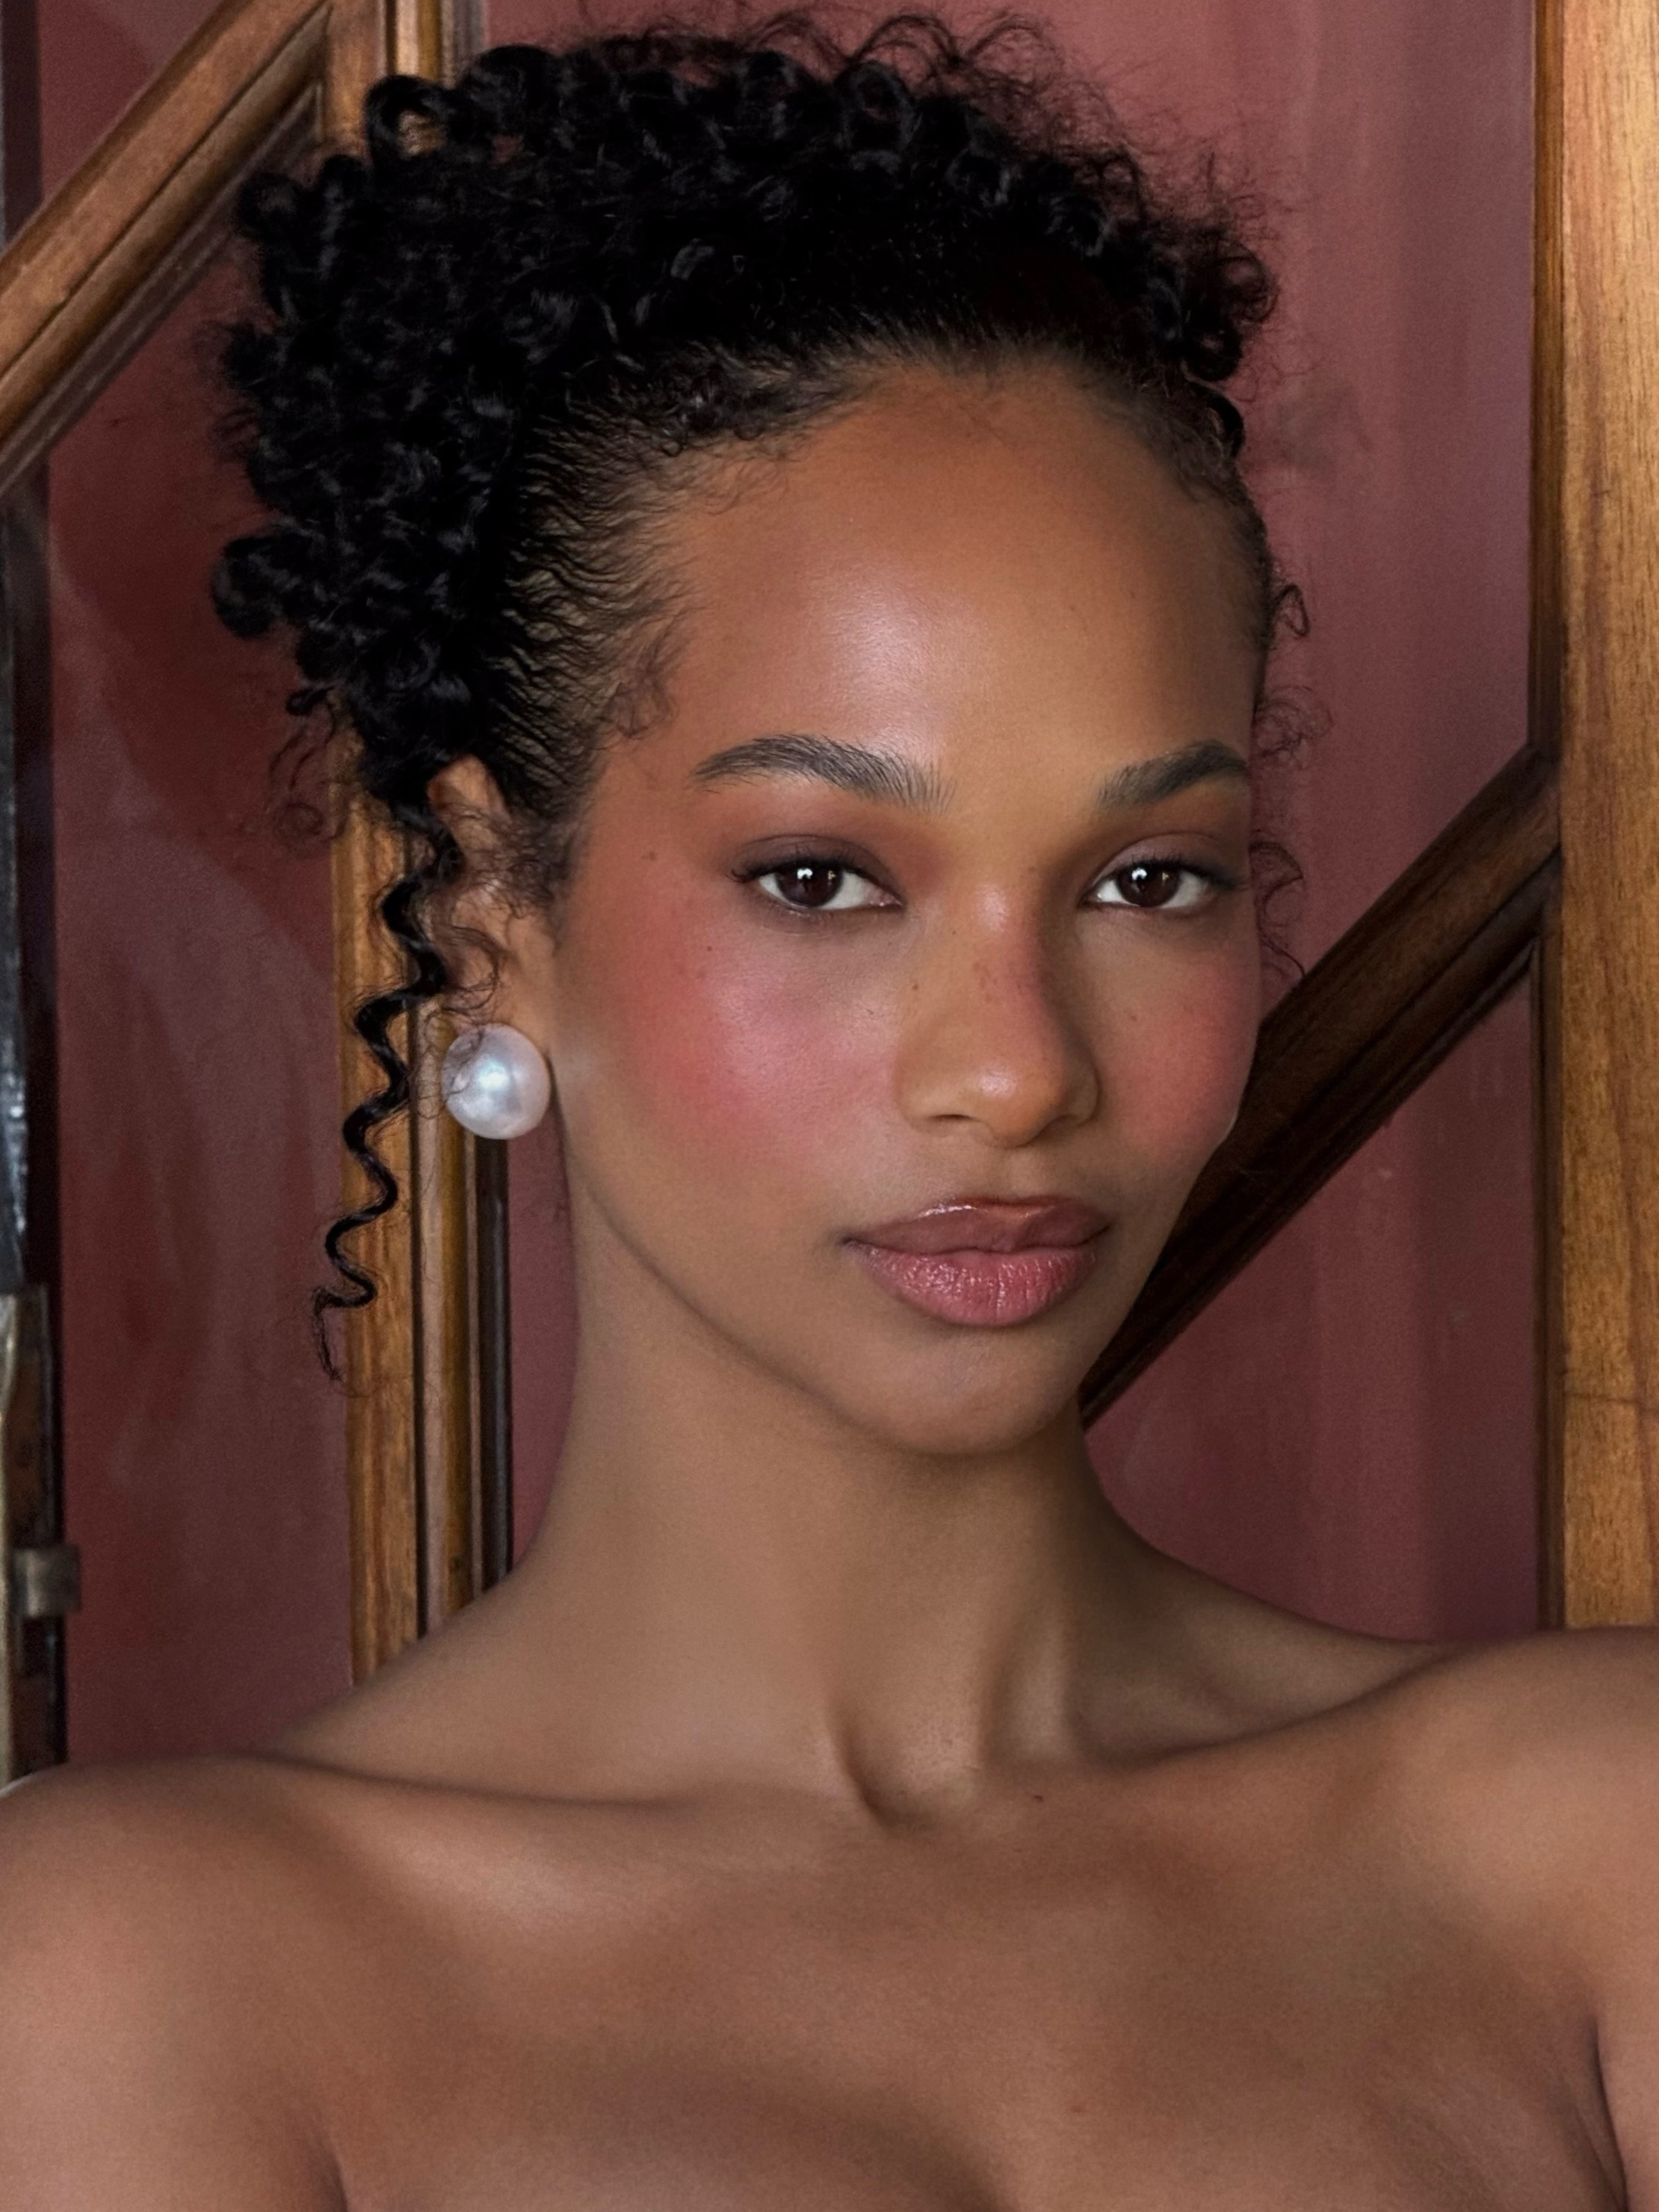
Makeup: Vladis Makeup, Kiana Davis
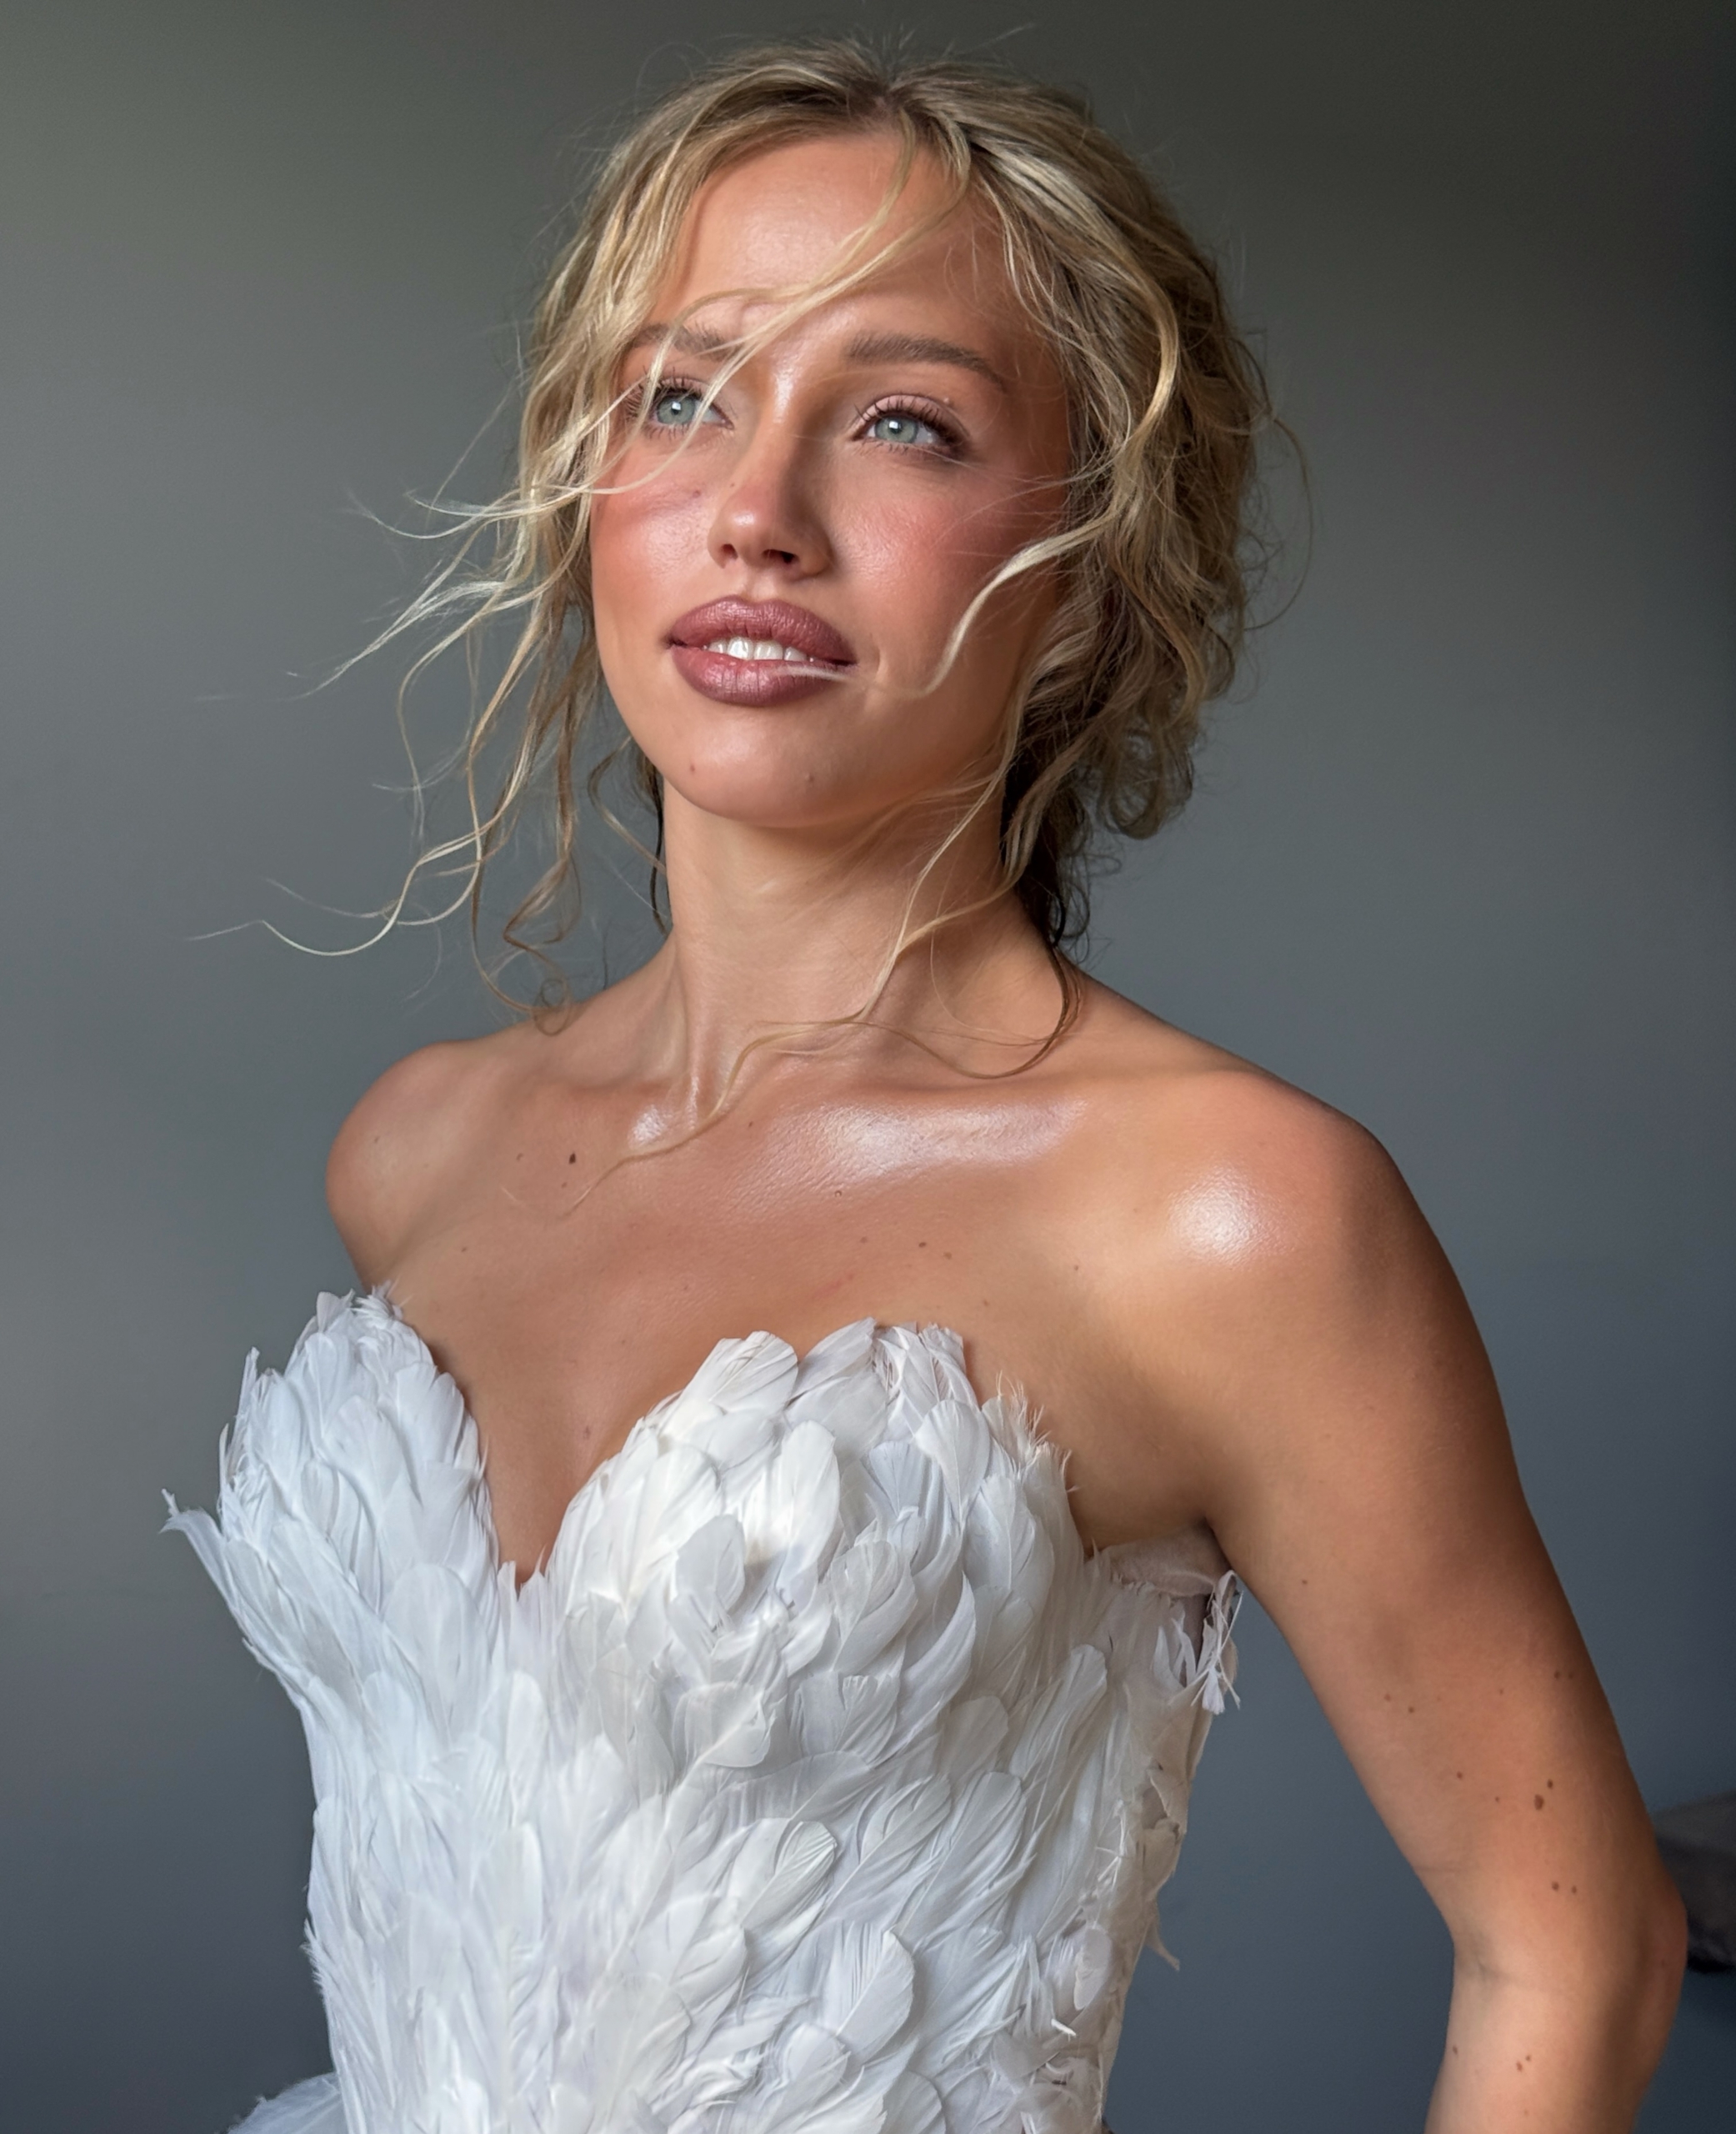
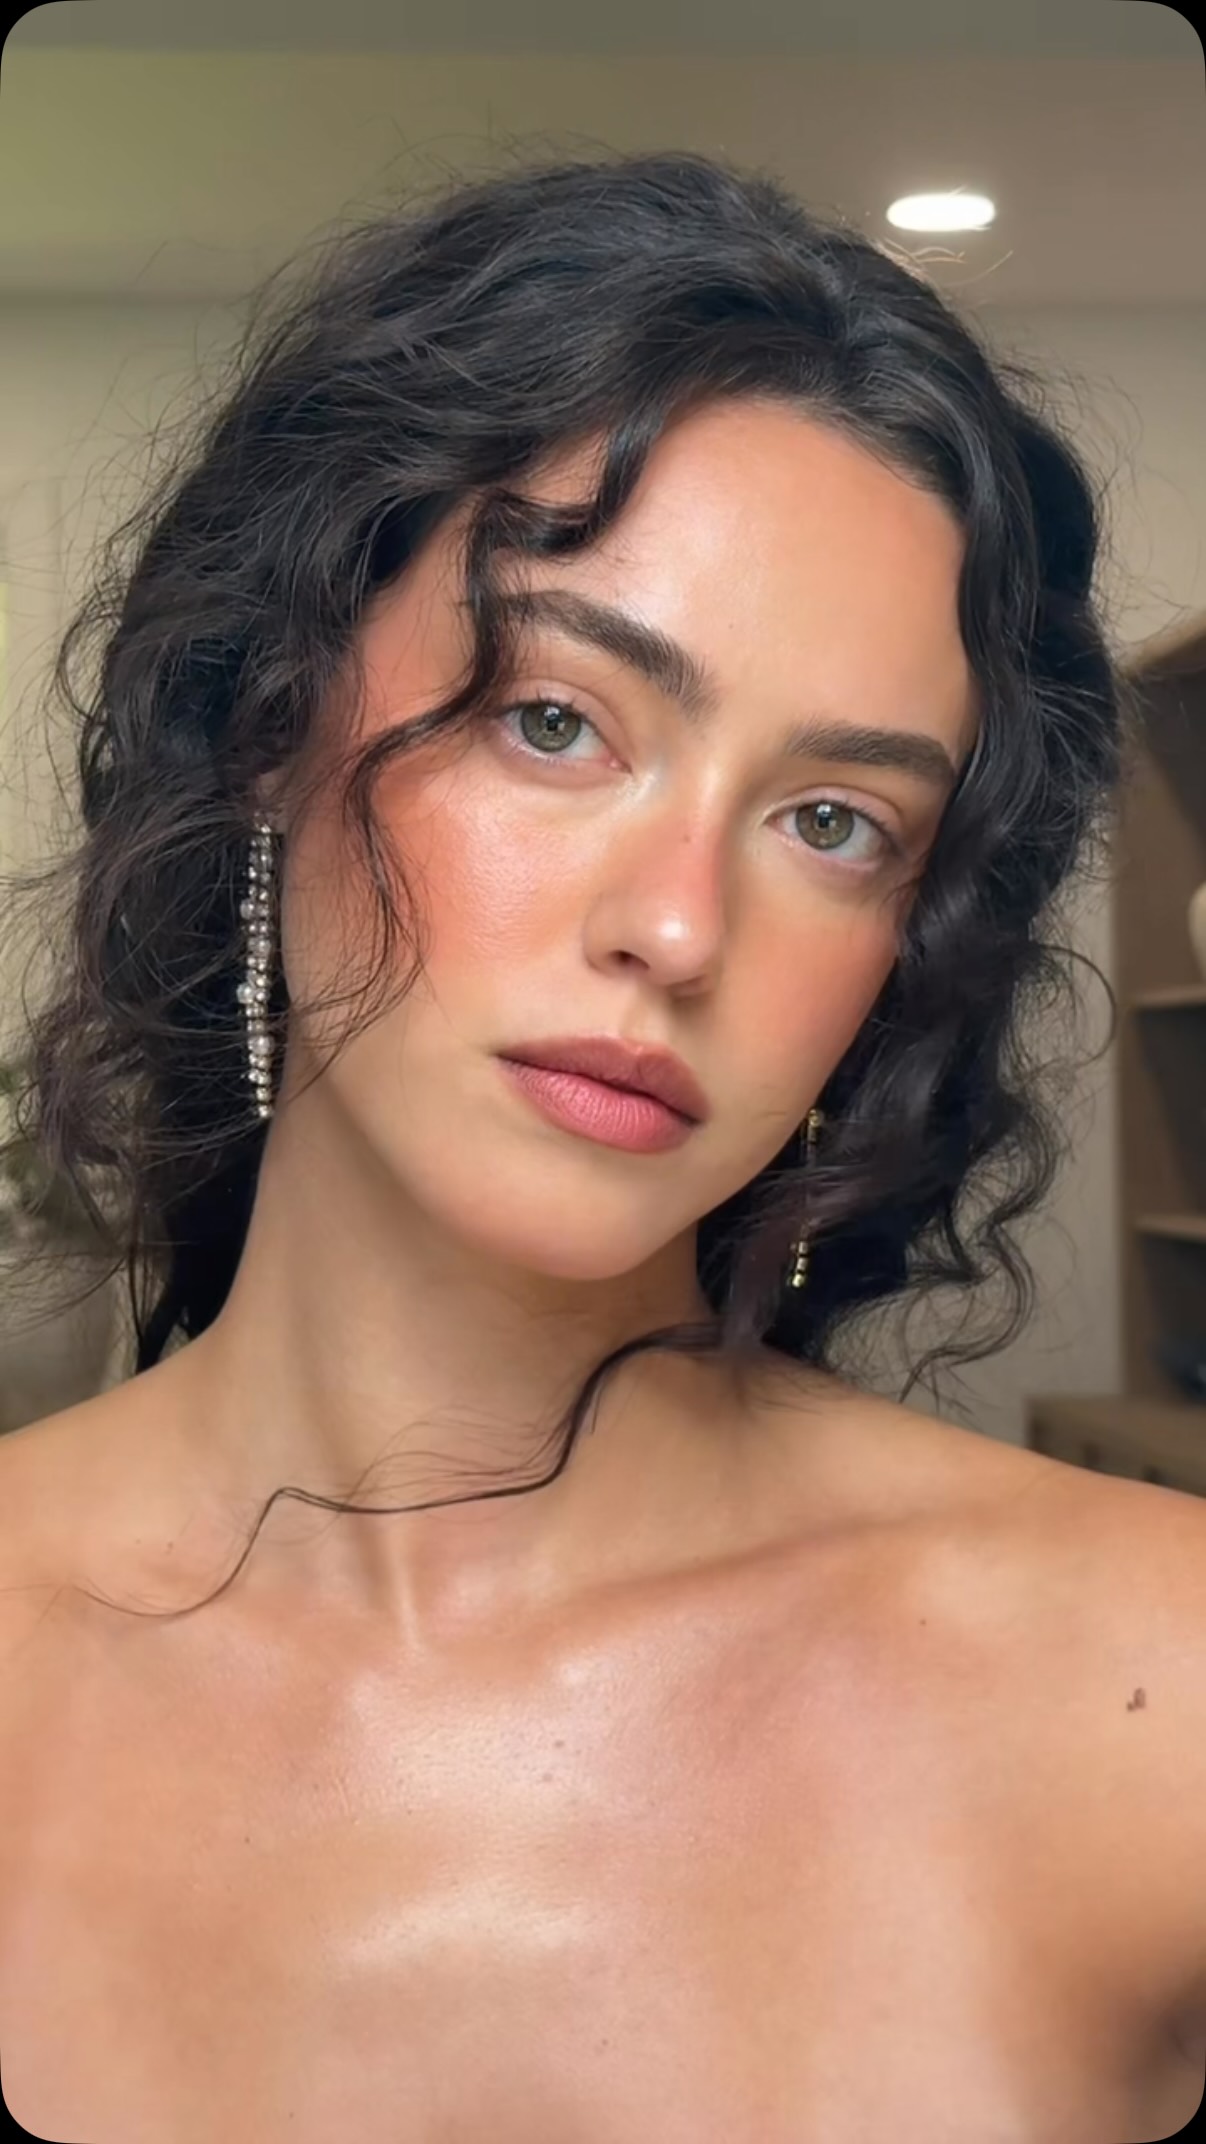
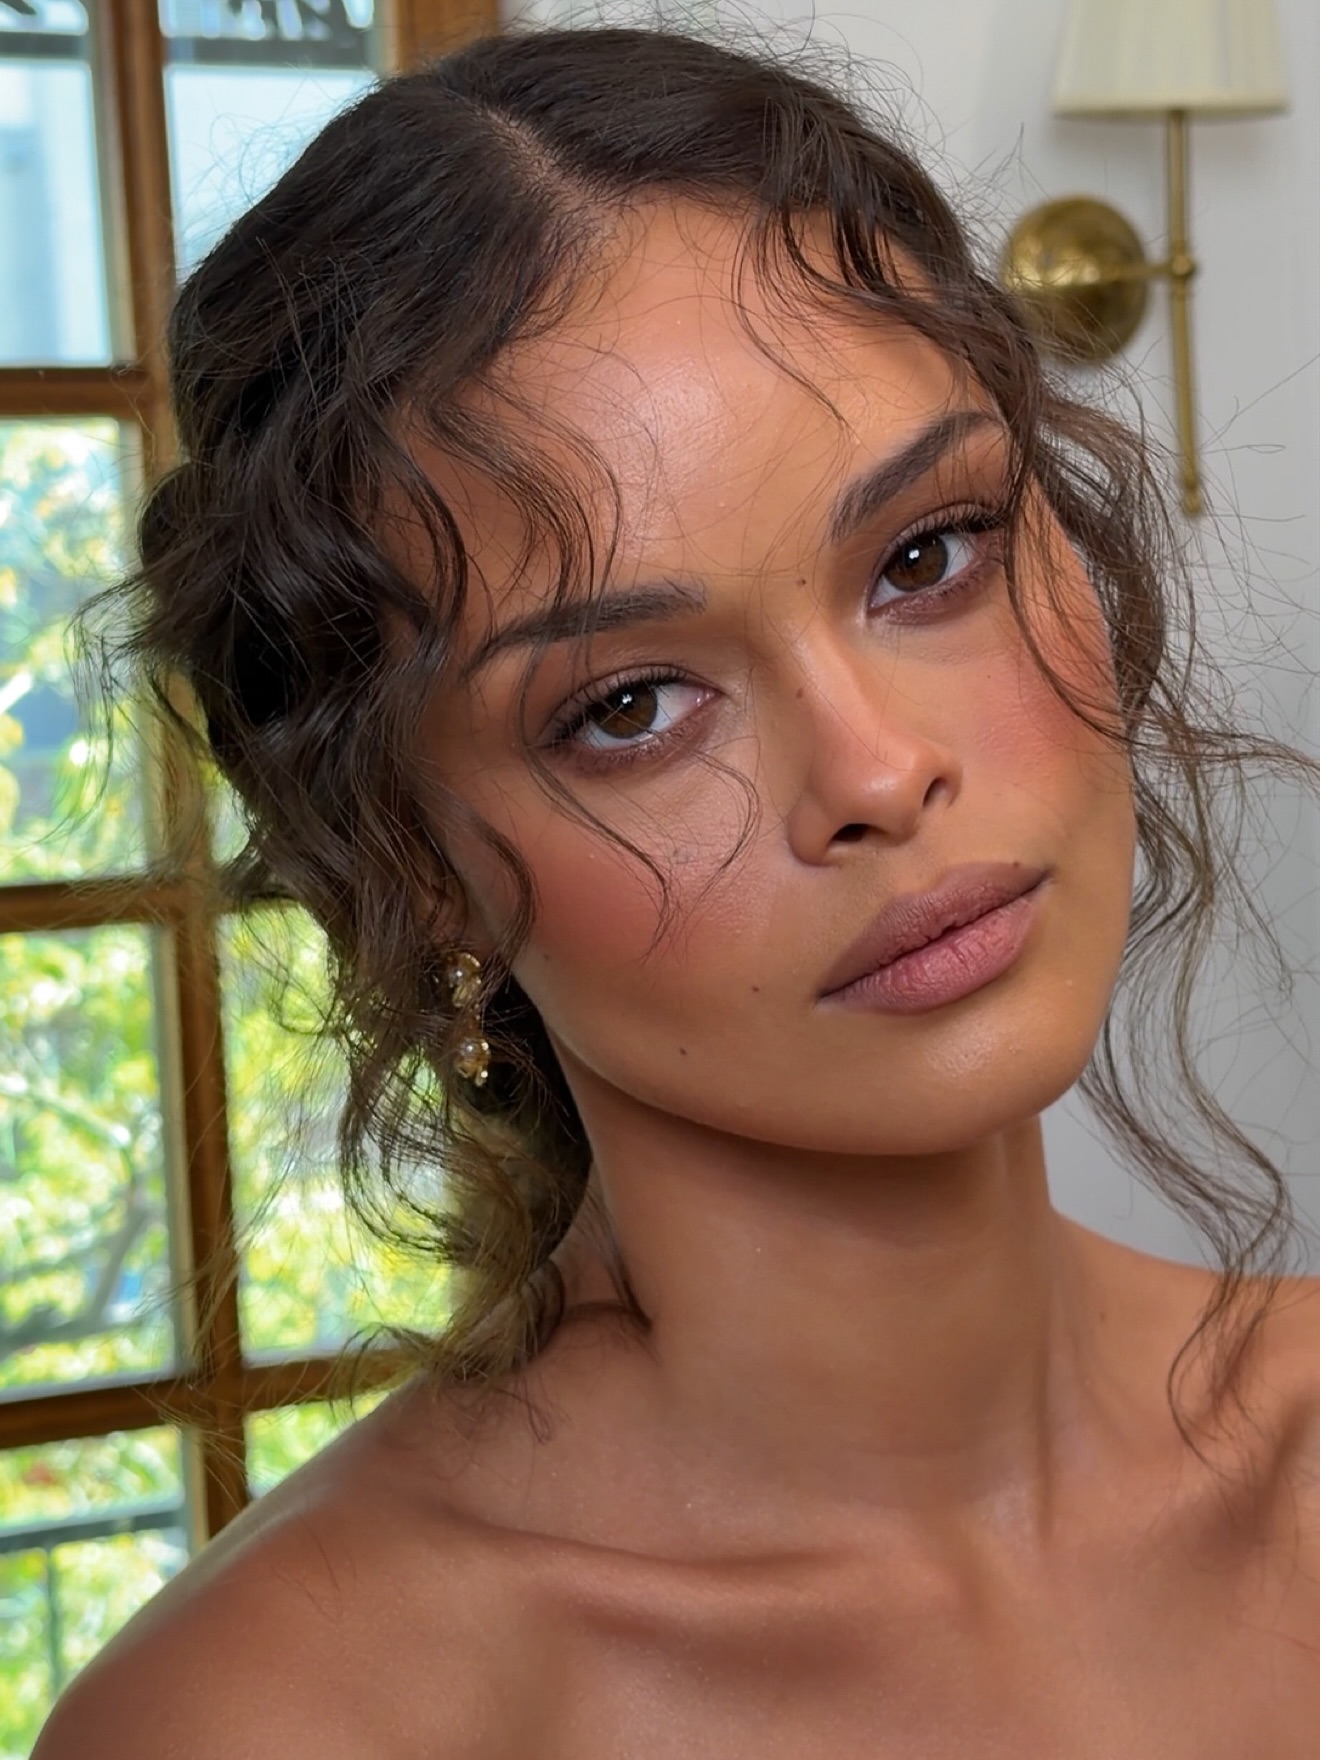
4/ Paint the tan across the face. Reach for a warm terracotta or mocha blush and set it low on the cheeks, then carry it over the bridge of the nose, up onto the temples, and along the hairline. Map a sunburn, skip the blush circle. The lower, wider placement is the entire illusion, because that is where an afternoon outdoors would actually catch you.
5/ Layer a red flush on the peaks. Press a true red, lightly, onto the highest points of the cheeks and the very tip of the nose for that warmth that looks like it is coming from inside. Pro tip, straight from Casillas: overshoot the blush, then sheer it right back with a clean sponge. Color in this look should dissolve into skin with no border.
Makeup: Esfir Koles, Leyla Hayauri
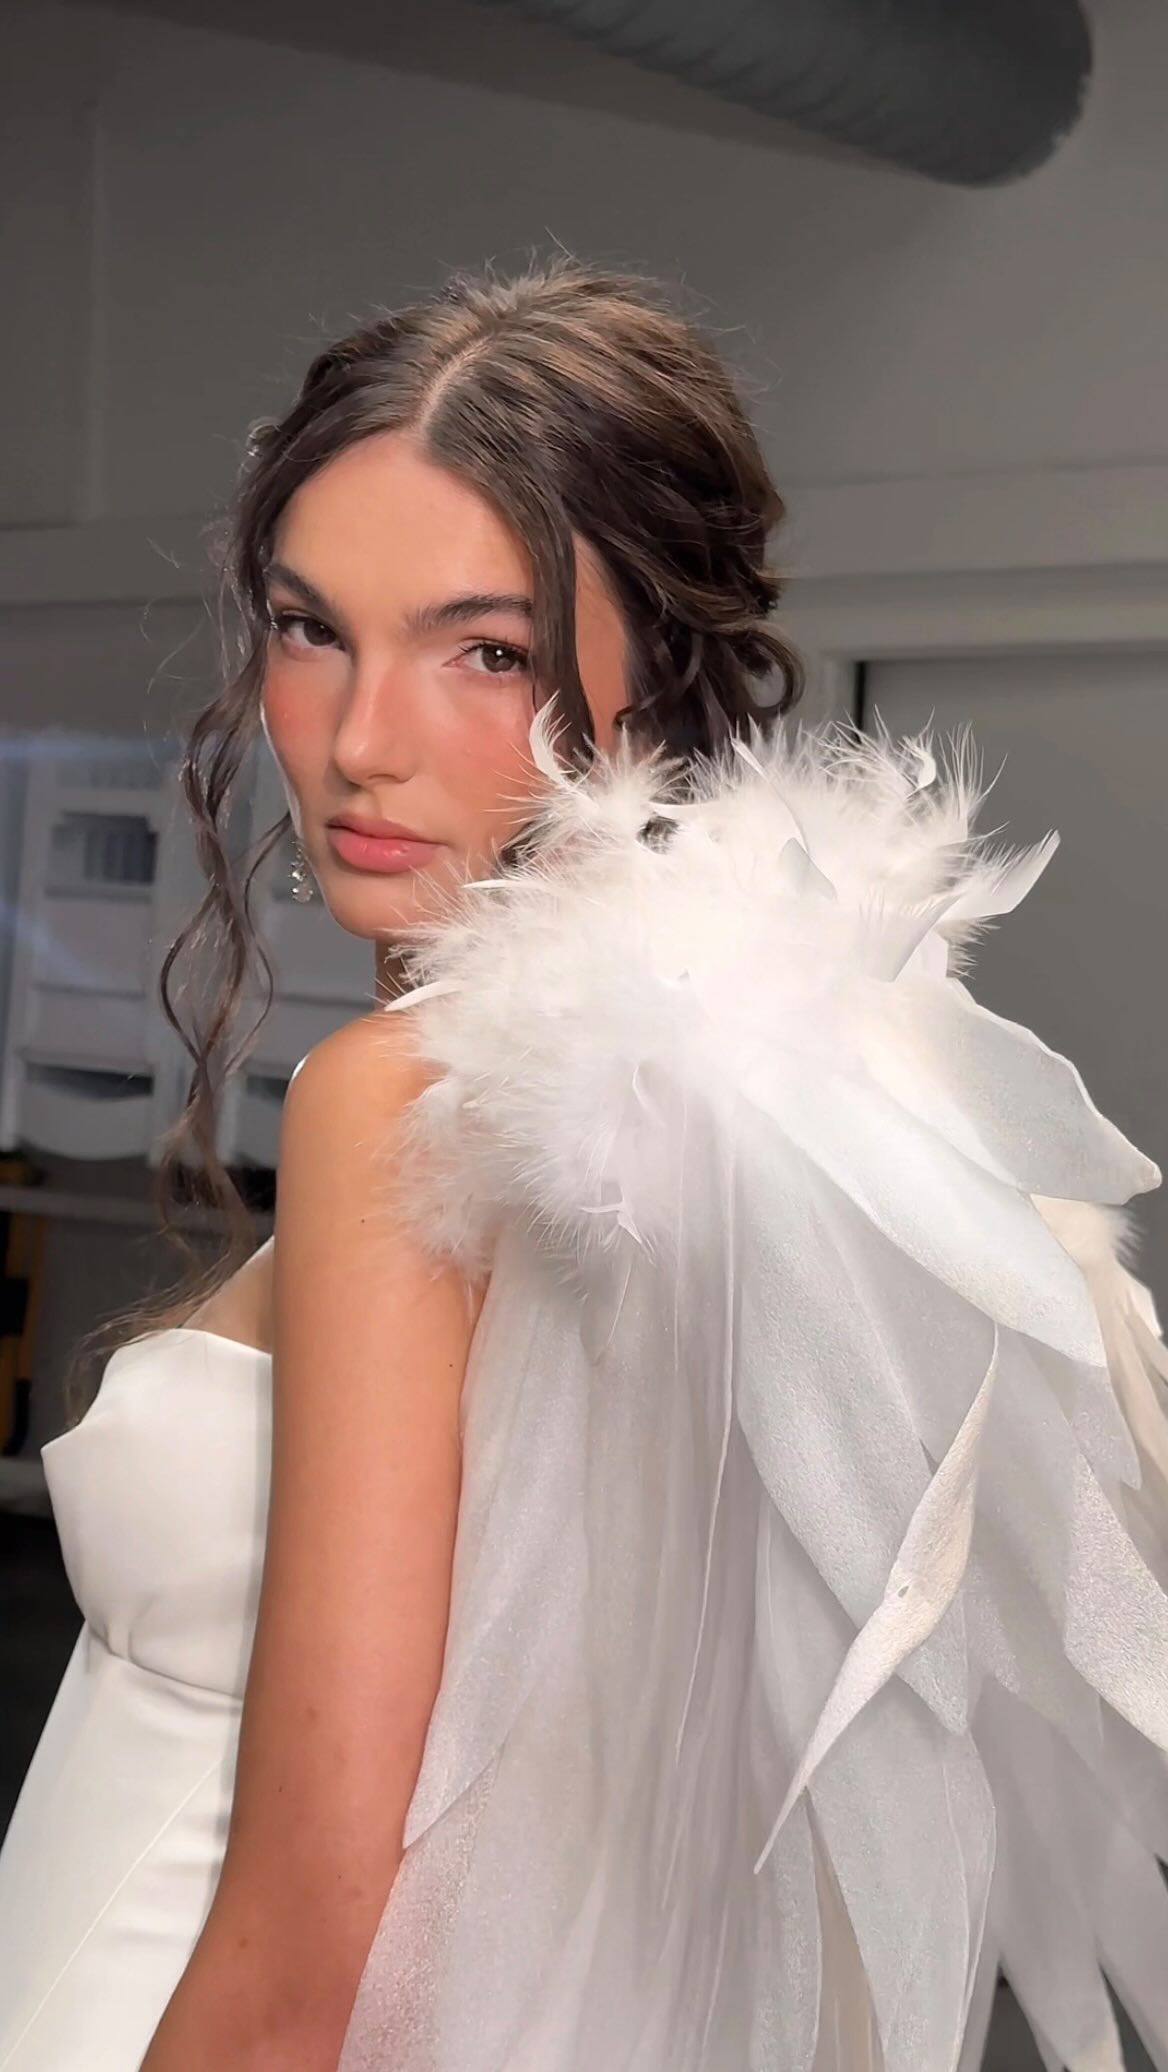
7/ Give the lips a pulse. A sheer pH-reactive balm nudges your natural lip tone up a shade, so the flush looks specifically like yours. Leave the liner out, or keep it soft and shapeless.
8/ Glaze last, and only the peaks. As the closing move, tap a clear or universal balm highlighter onto the tops of the cheekbones, the cupid’s bow, the brow bone, and the inner corners of the eyes. Balm over powder, always. You are after wet, glass-like skin, and powder shimmer reads as glitter instead.
9/ Let the brows do the eye work. Brush them straight up, set them in place, and leave the lids clean. Groomed brows frame the whole face and hold the look together with zero shadow. One coat of clear or brown mascara is as far as you should push it.
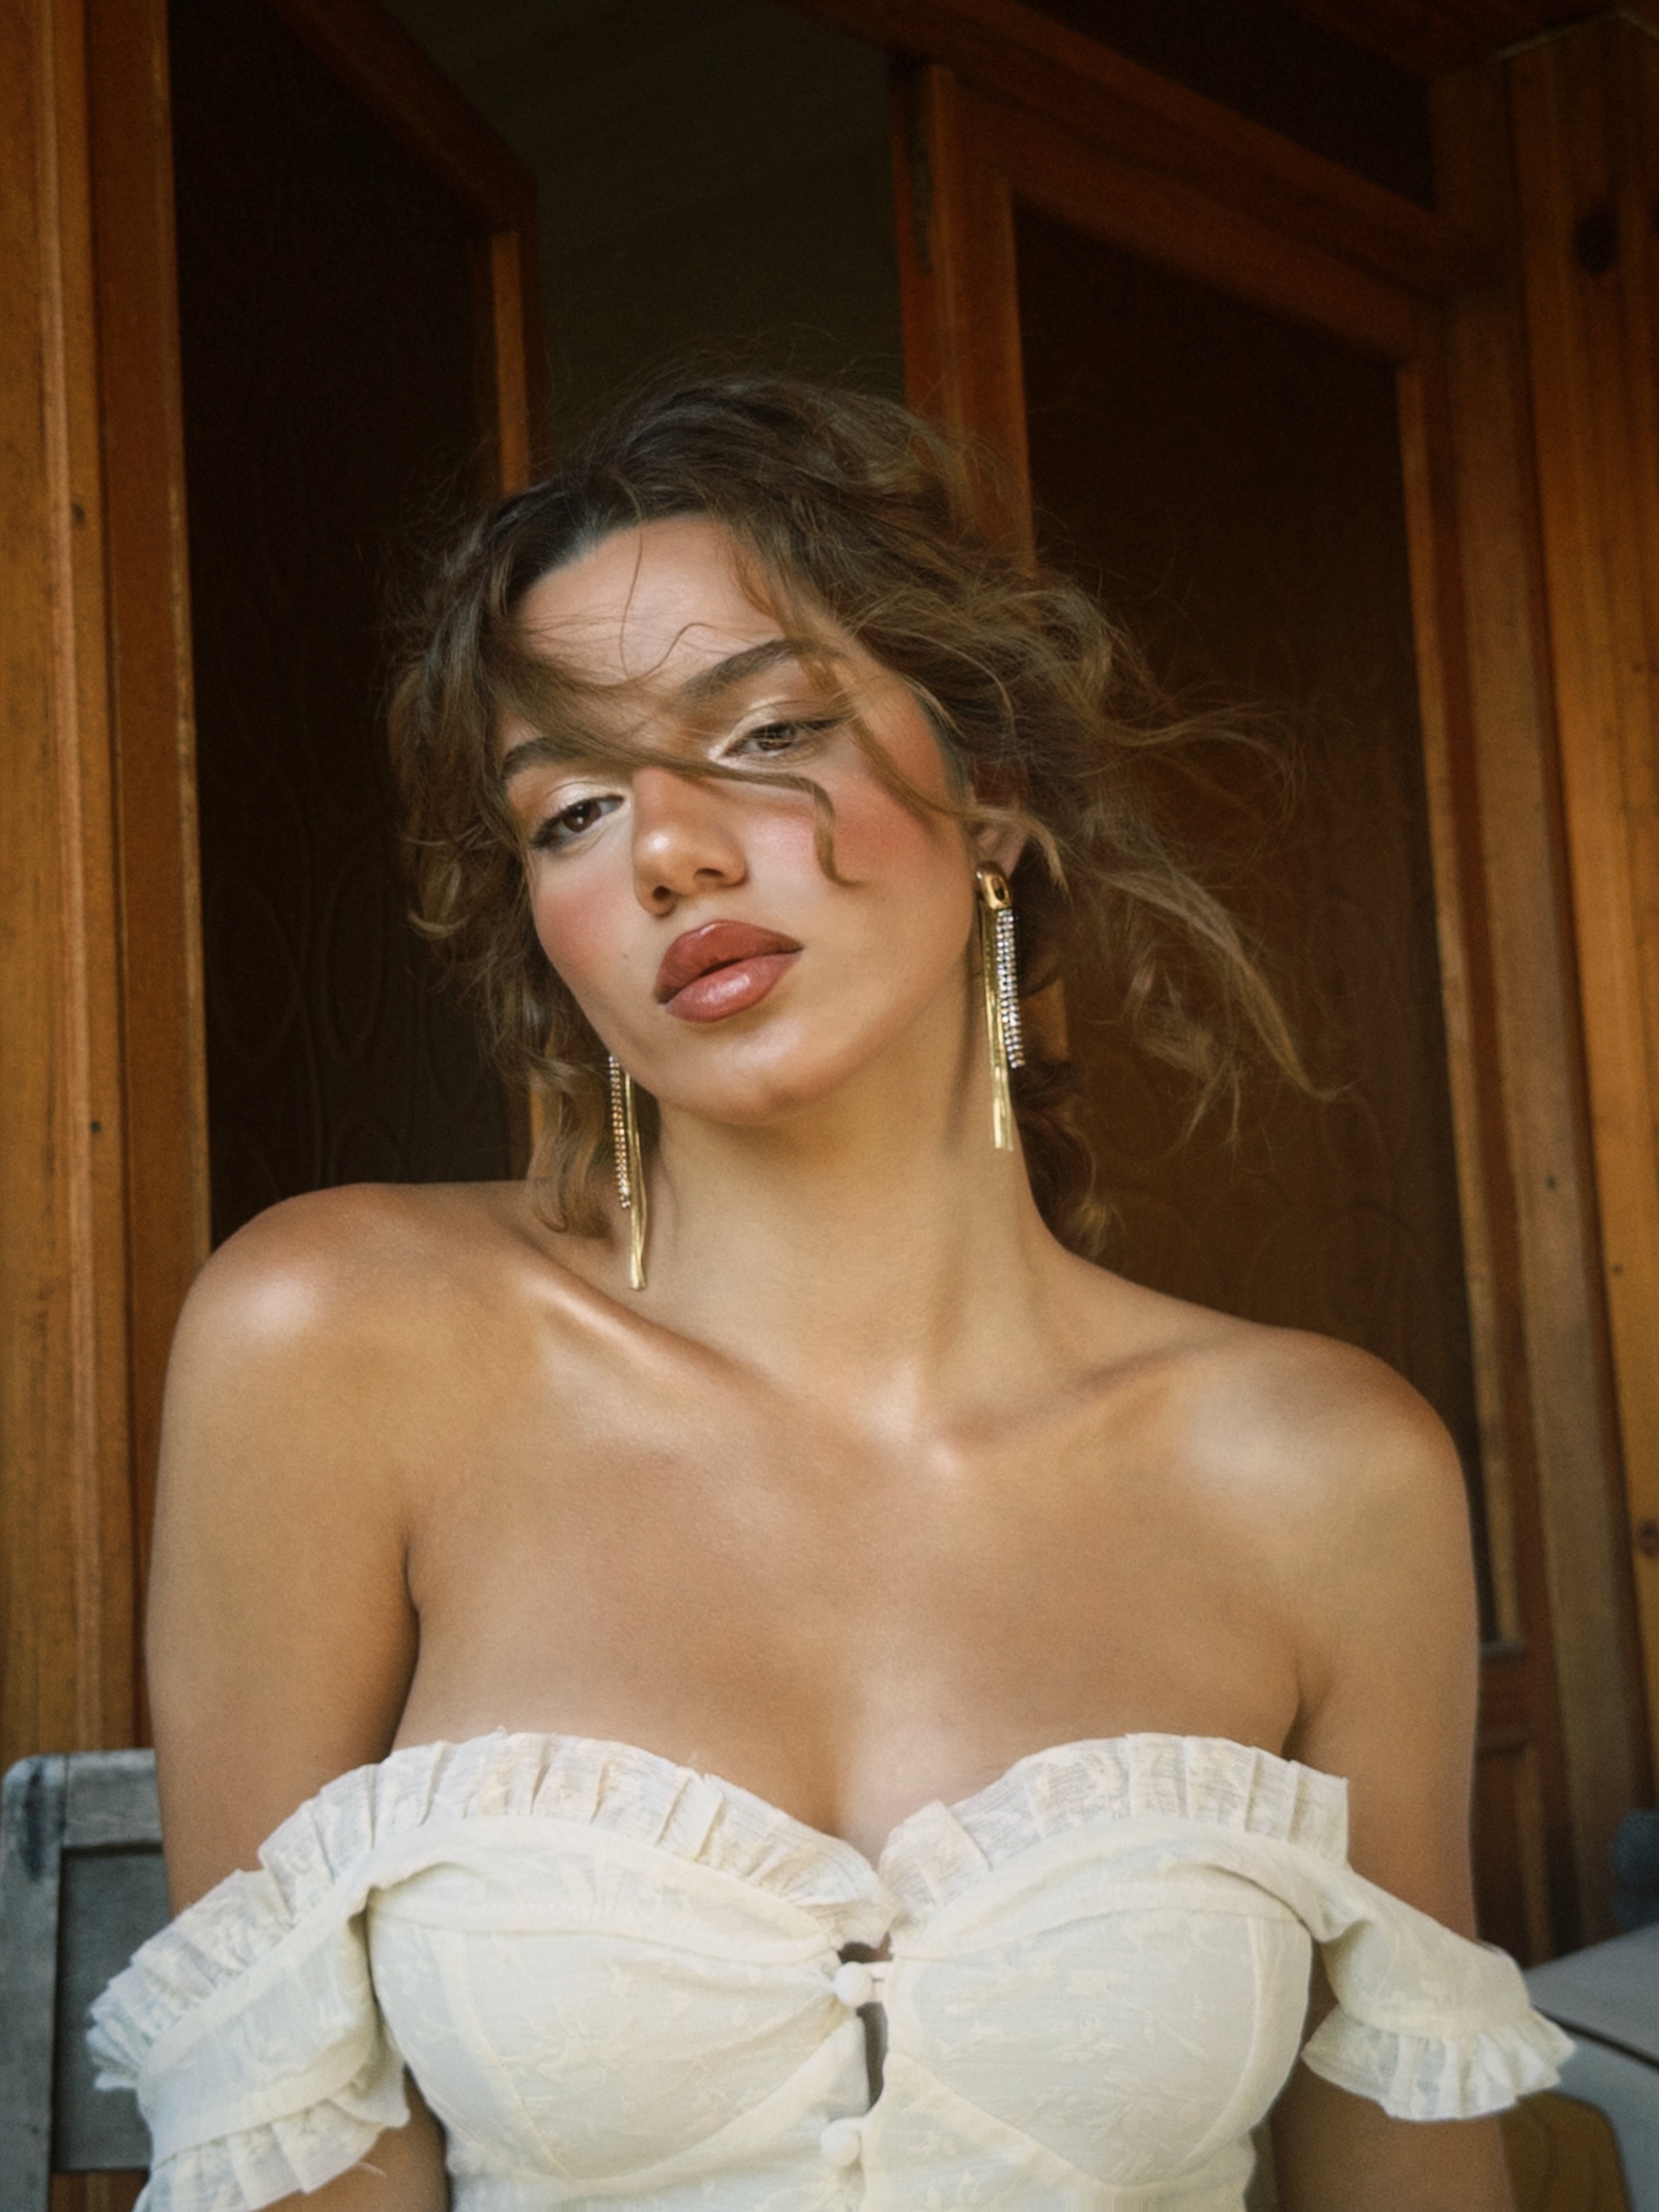
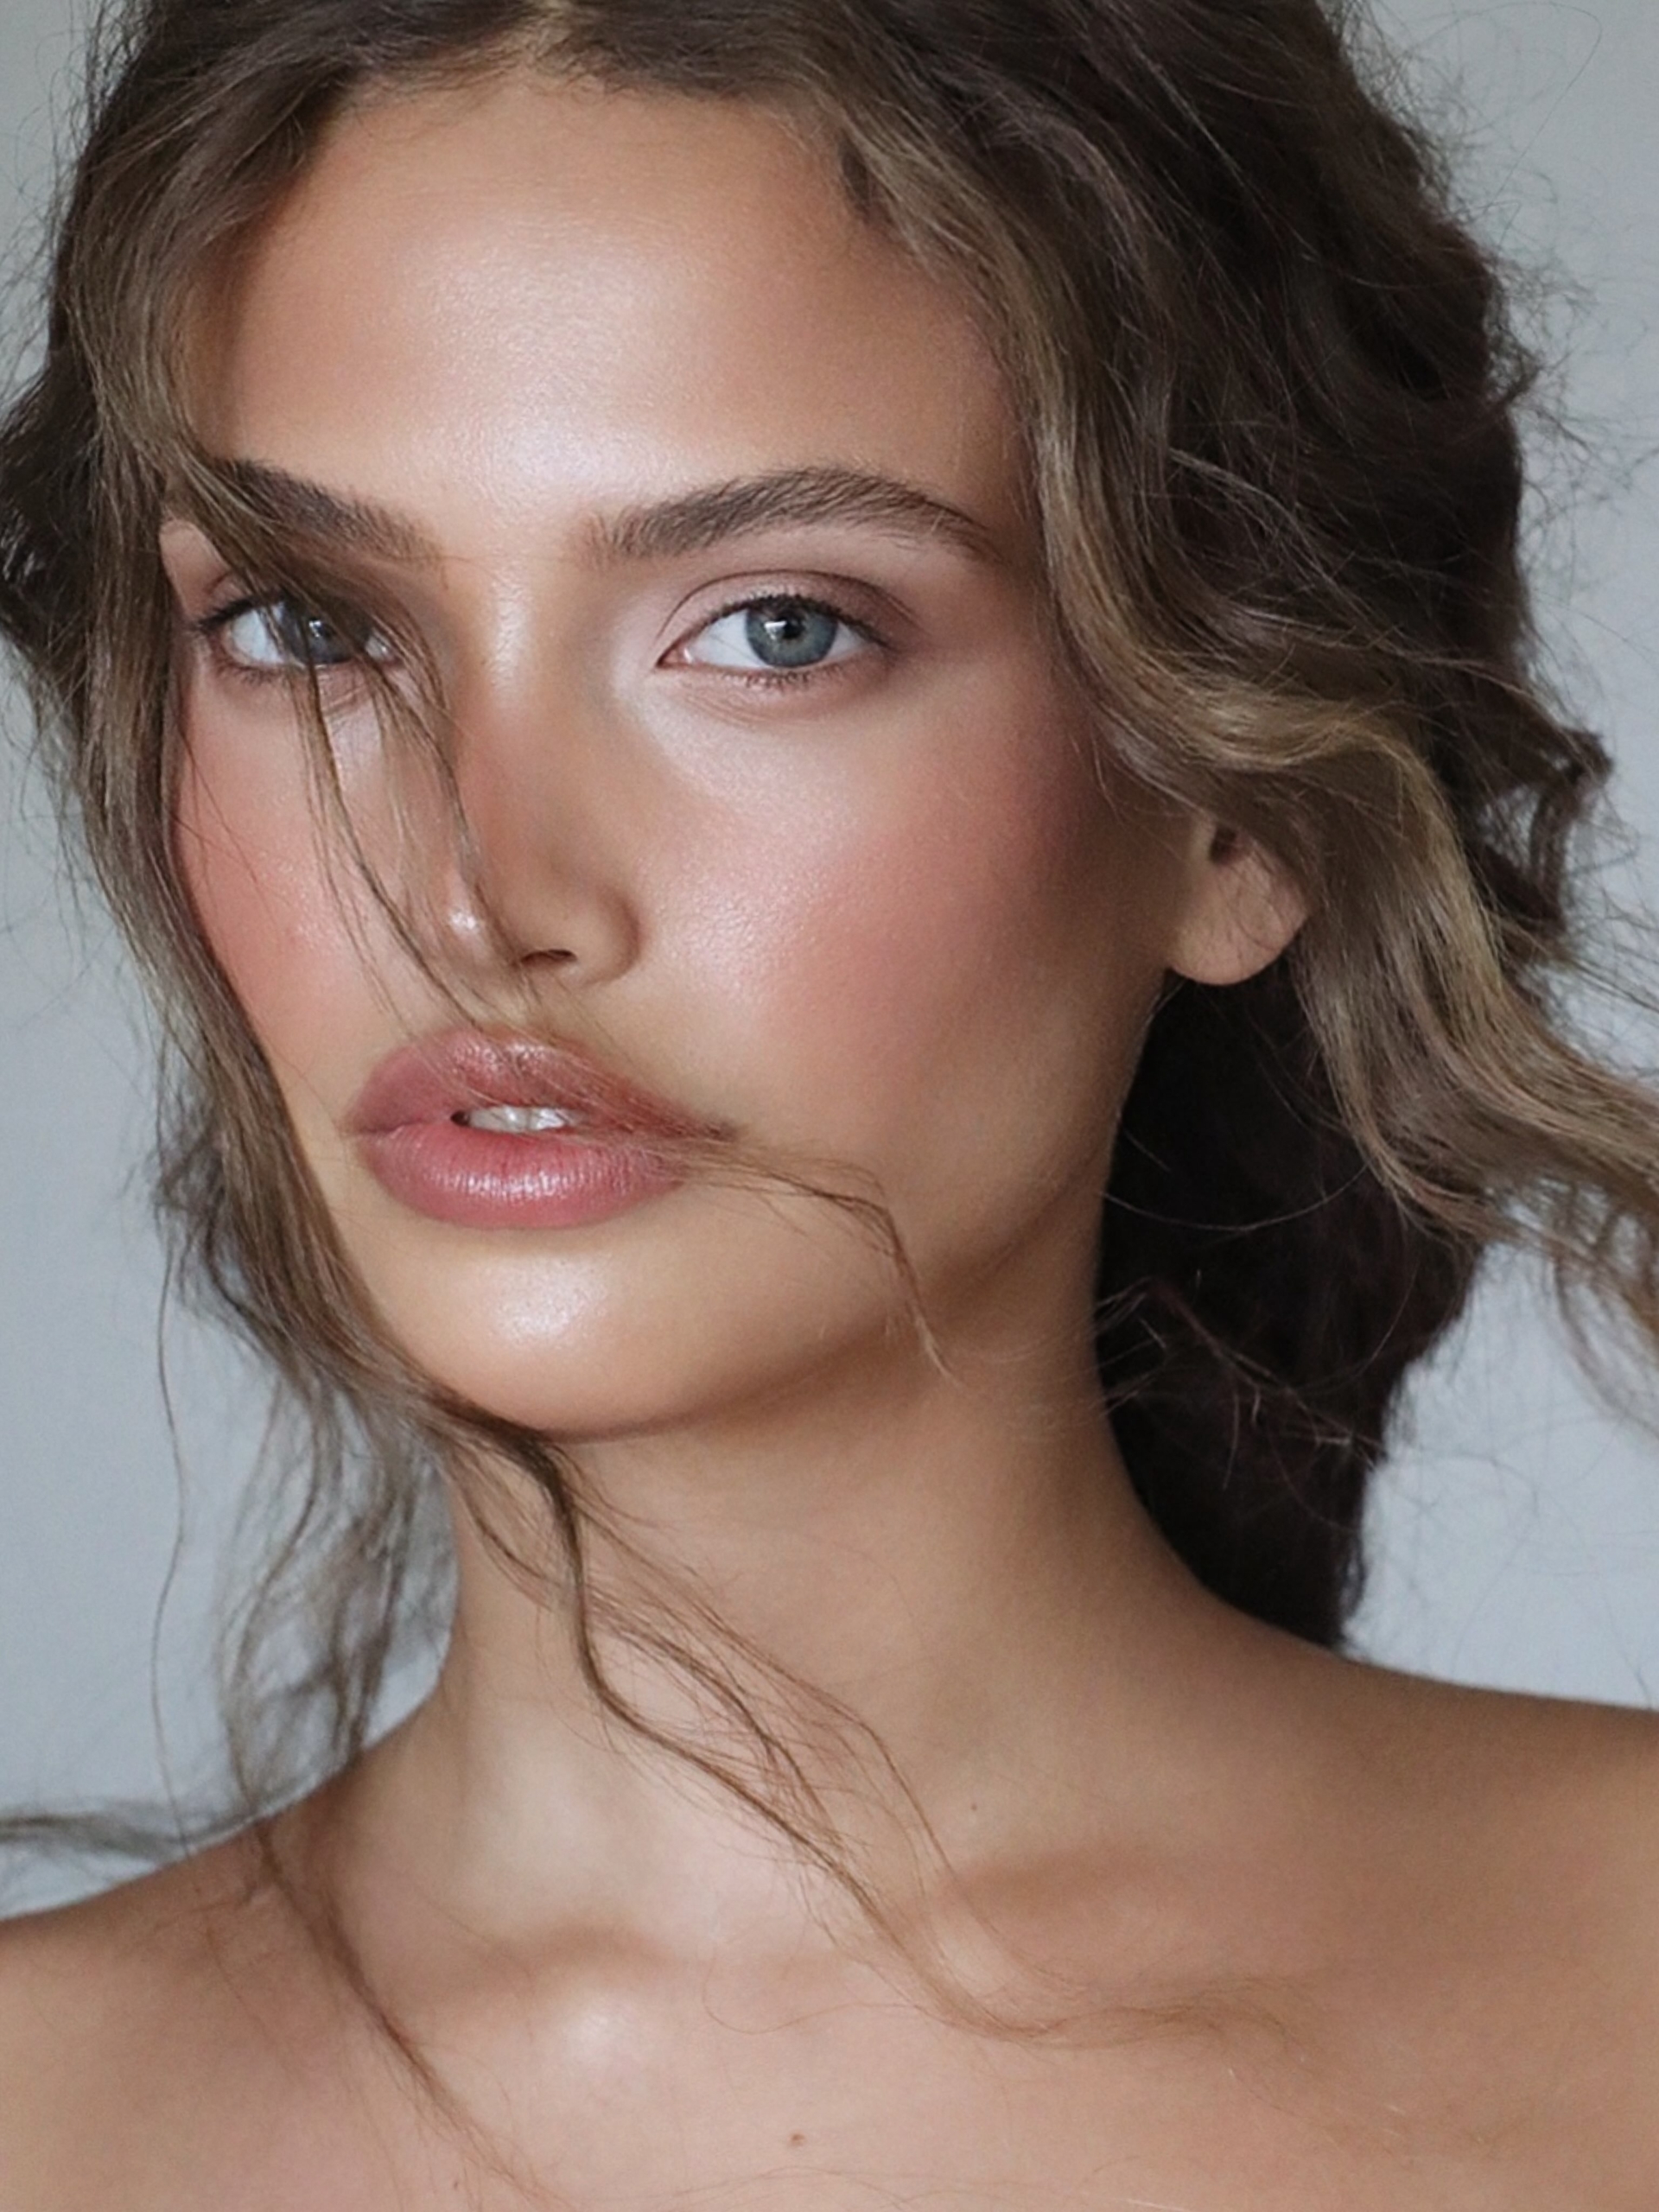
Photo: Reyhan Betül Küçük, Ortal Elimeleh
How To Wear It
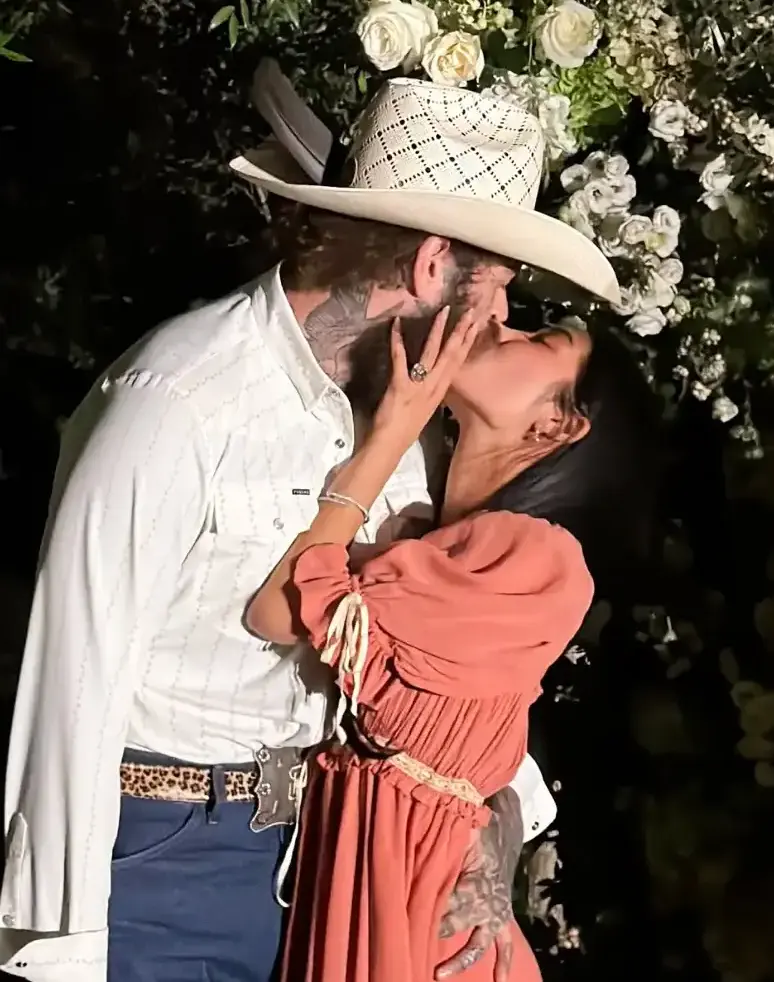
The fastest way to ruin this look is to copy Zendaya’s shades onto skin they were never mixed for. Terracotta that plays as sunlight on deep, warm skin turns to mud on fair, cool skin. So read your whole picture at once, the skin, the undertone, the hair, and the eyes together, then run the version built for you. Four profiles cover most of you.
Dark Hair, Warm Undertone
You have Zendaya’s own blueprint, so run it straight. Rich terracotta as the base tan, a proper brick or true red on the high points, and a golden liquid glow to finish. Your skin carries saturated pigment with ease, so you can push bolder than anyone else here and still keep it reading as skin.
Photo: Courtesy of Ernesto Casillas, Getty Images
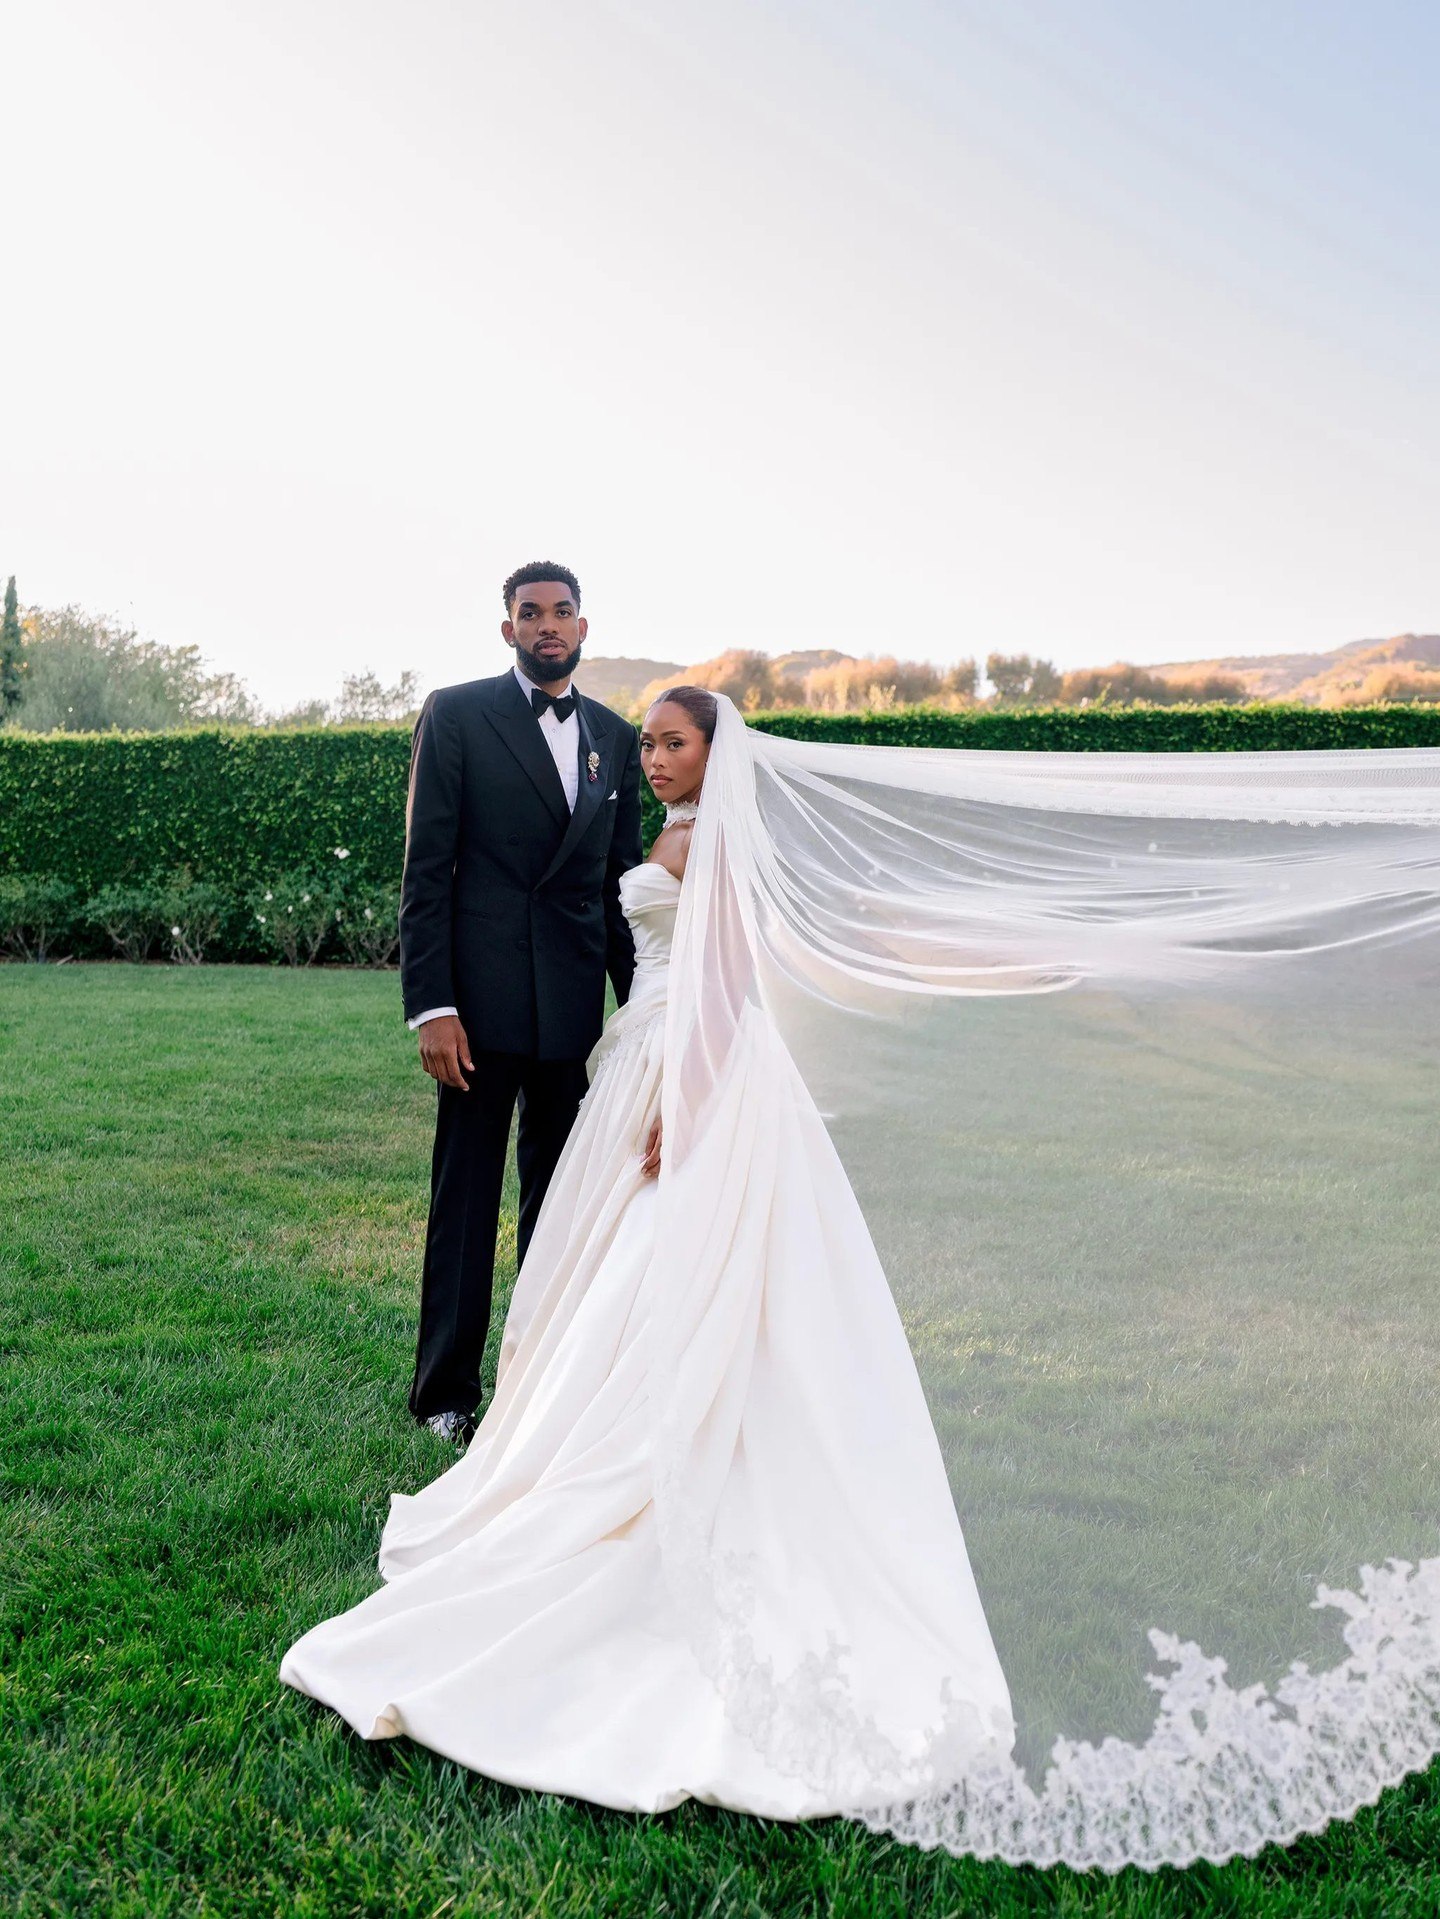
Dark Hair, Cool Undertone
Your dark hair hands you contrast for free, so color shows up even when you keep it whisper-sheer. Trade pure terracotta, which goes muddy against cooler skin, for a rose-brown or soft berry blush. Keep the flush as a raspberry stain on the peaks, and choose a champagne glow over gold so the finish stays crisp against your undertone.
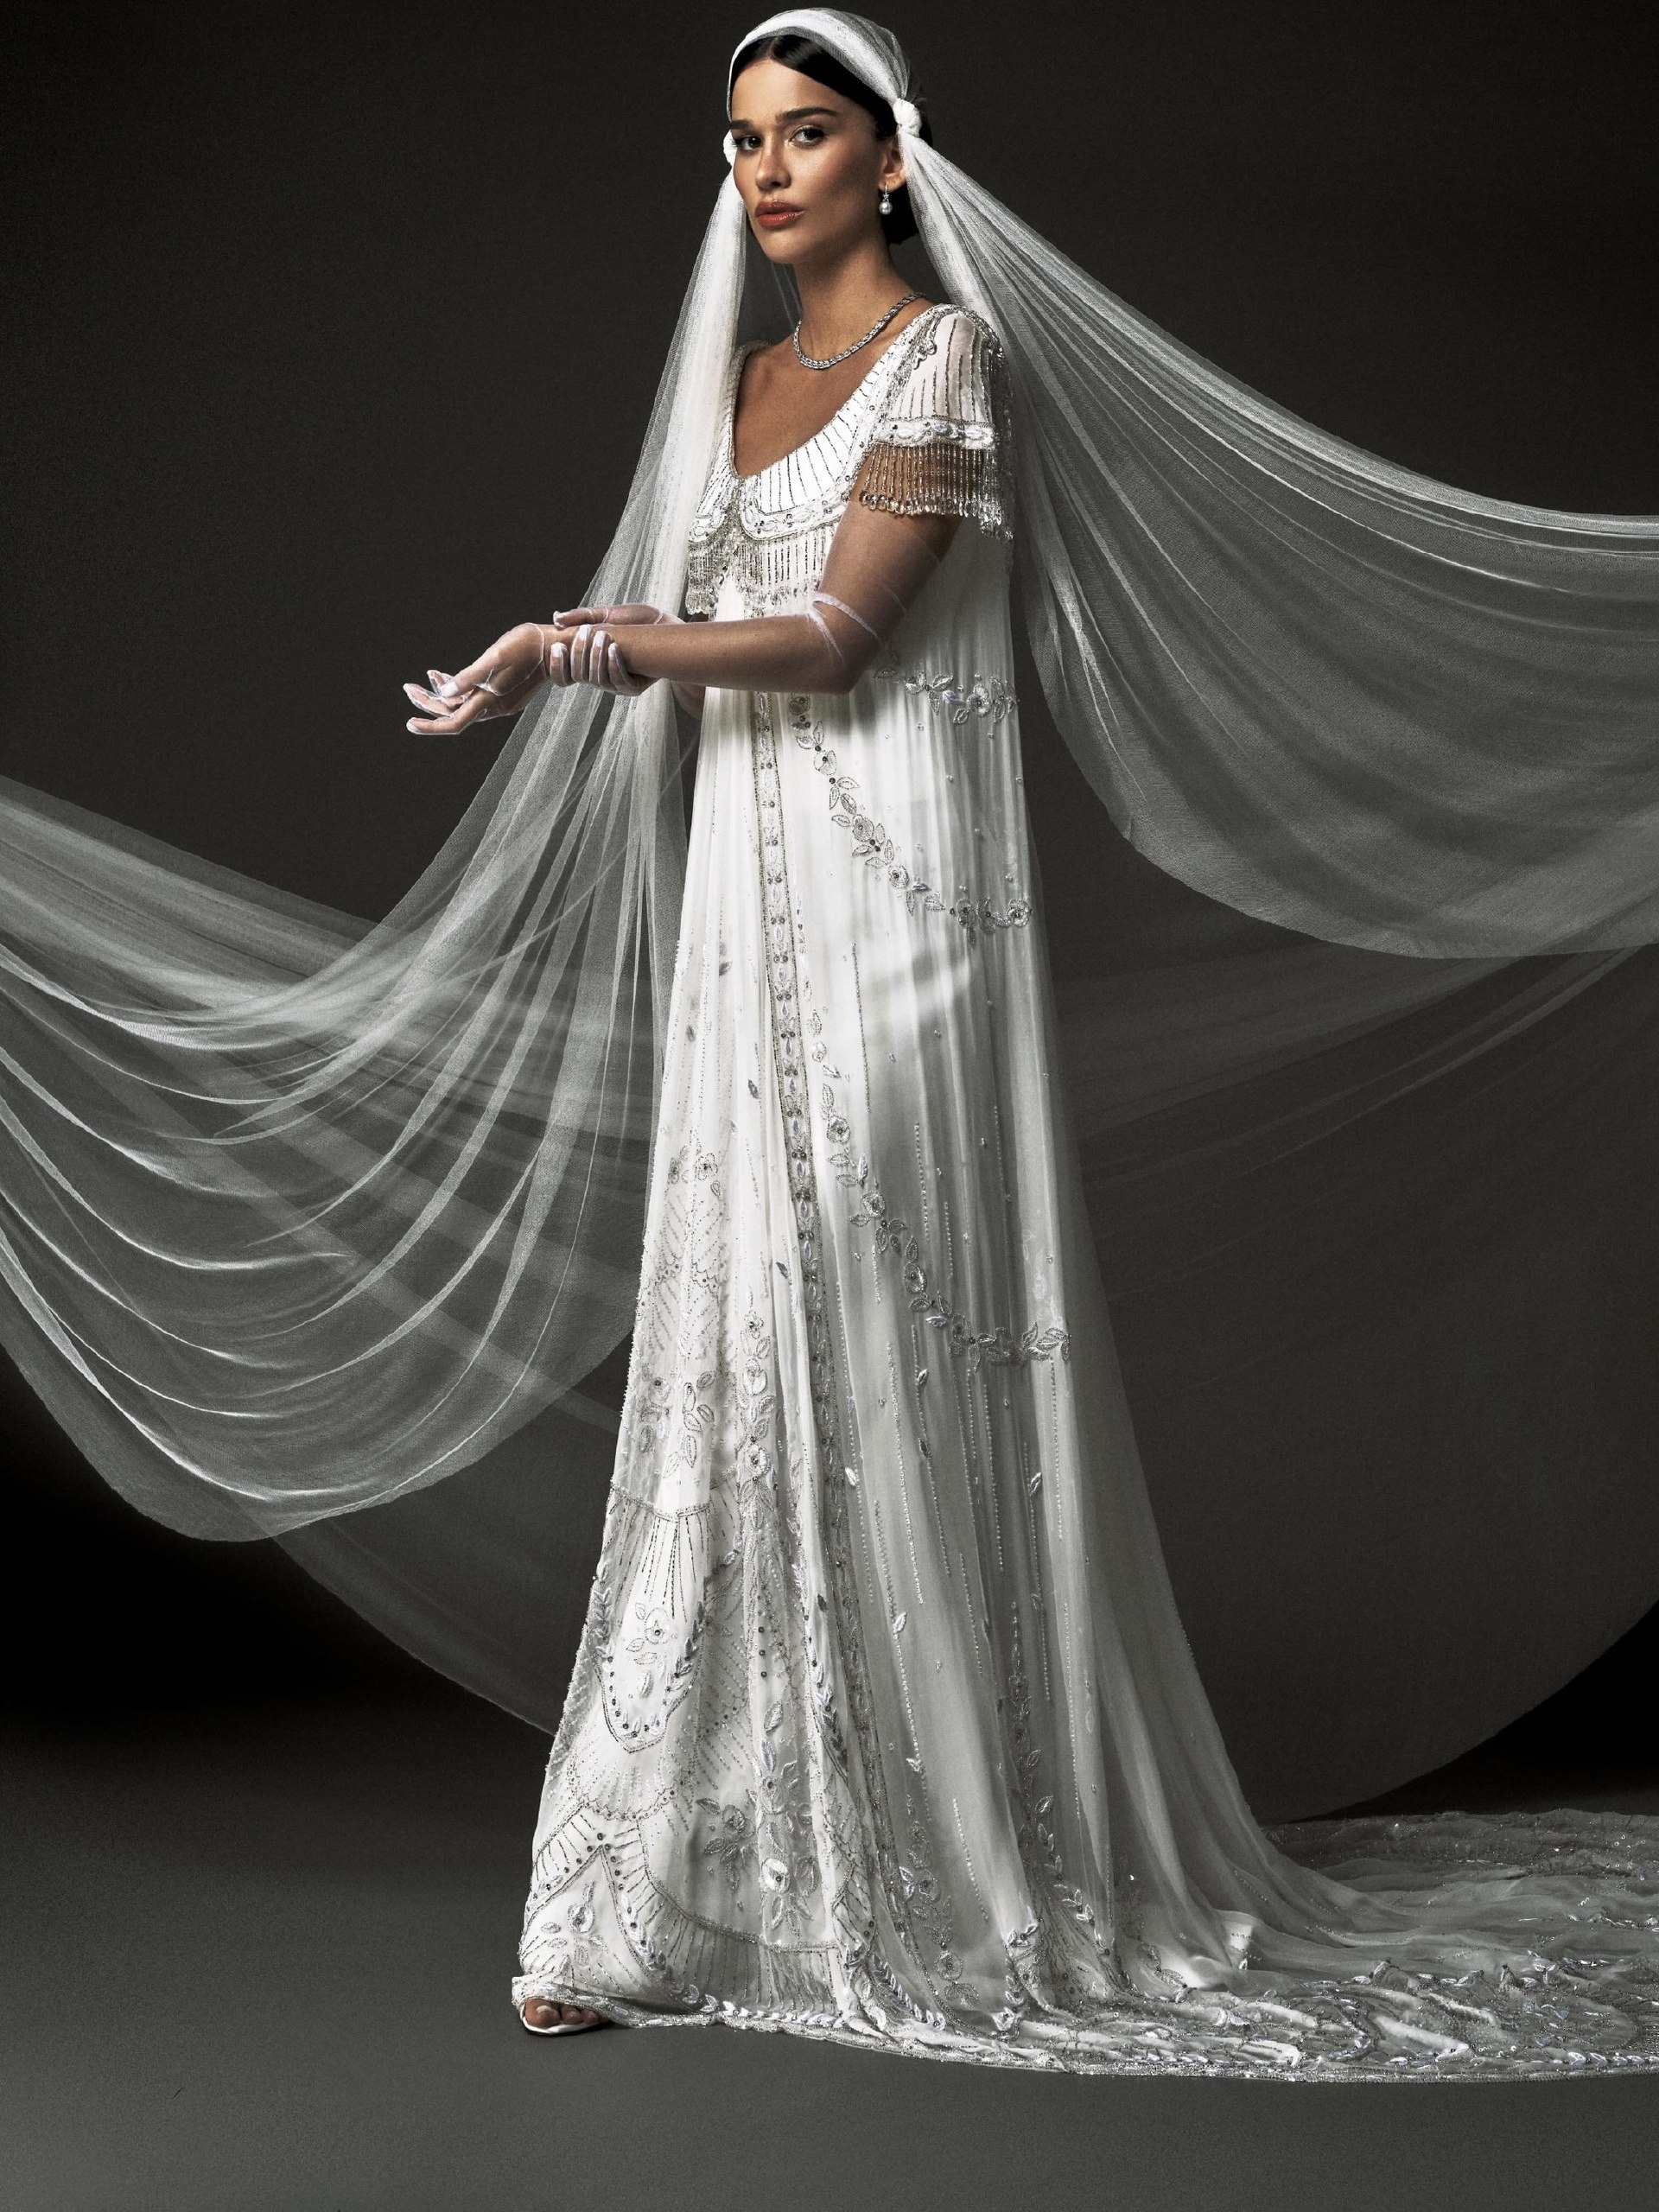
Light Hair, Fair Skin
This is the featherweight version, and restraint is the whole assignment. Heavy bronze swallows low-contrast features and drags the face older, so swap terracotta for a peachy rose, add the faintest coral on the peaks, and glaze with pearl or champagne. Aim for a face that looks warmed by an afternoon out, rather than bronzed on purpose.
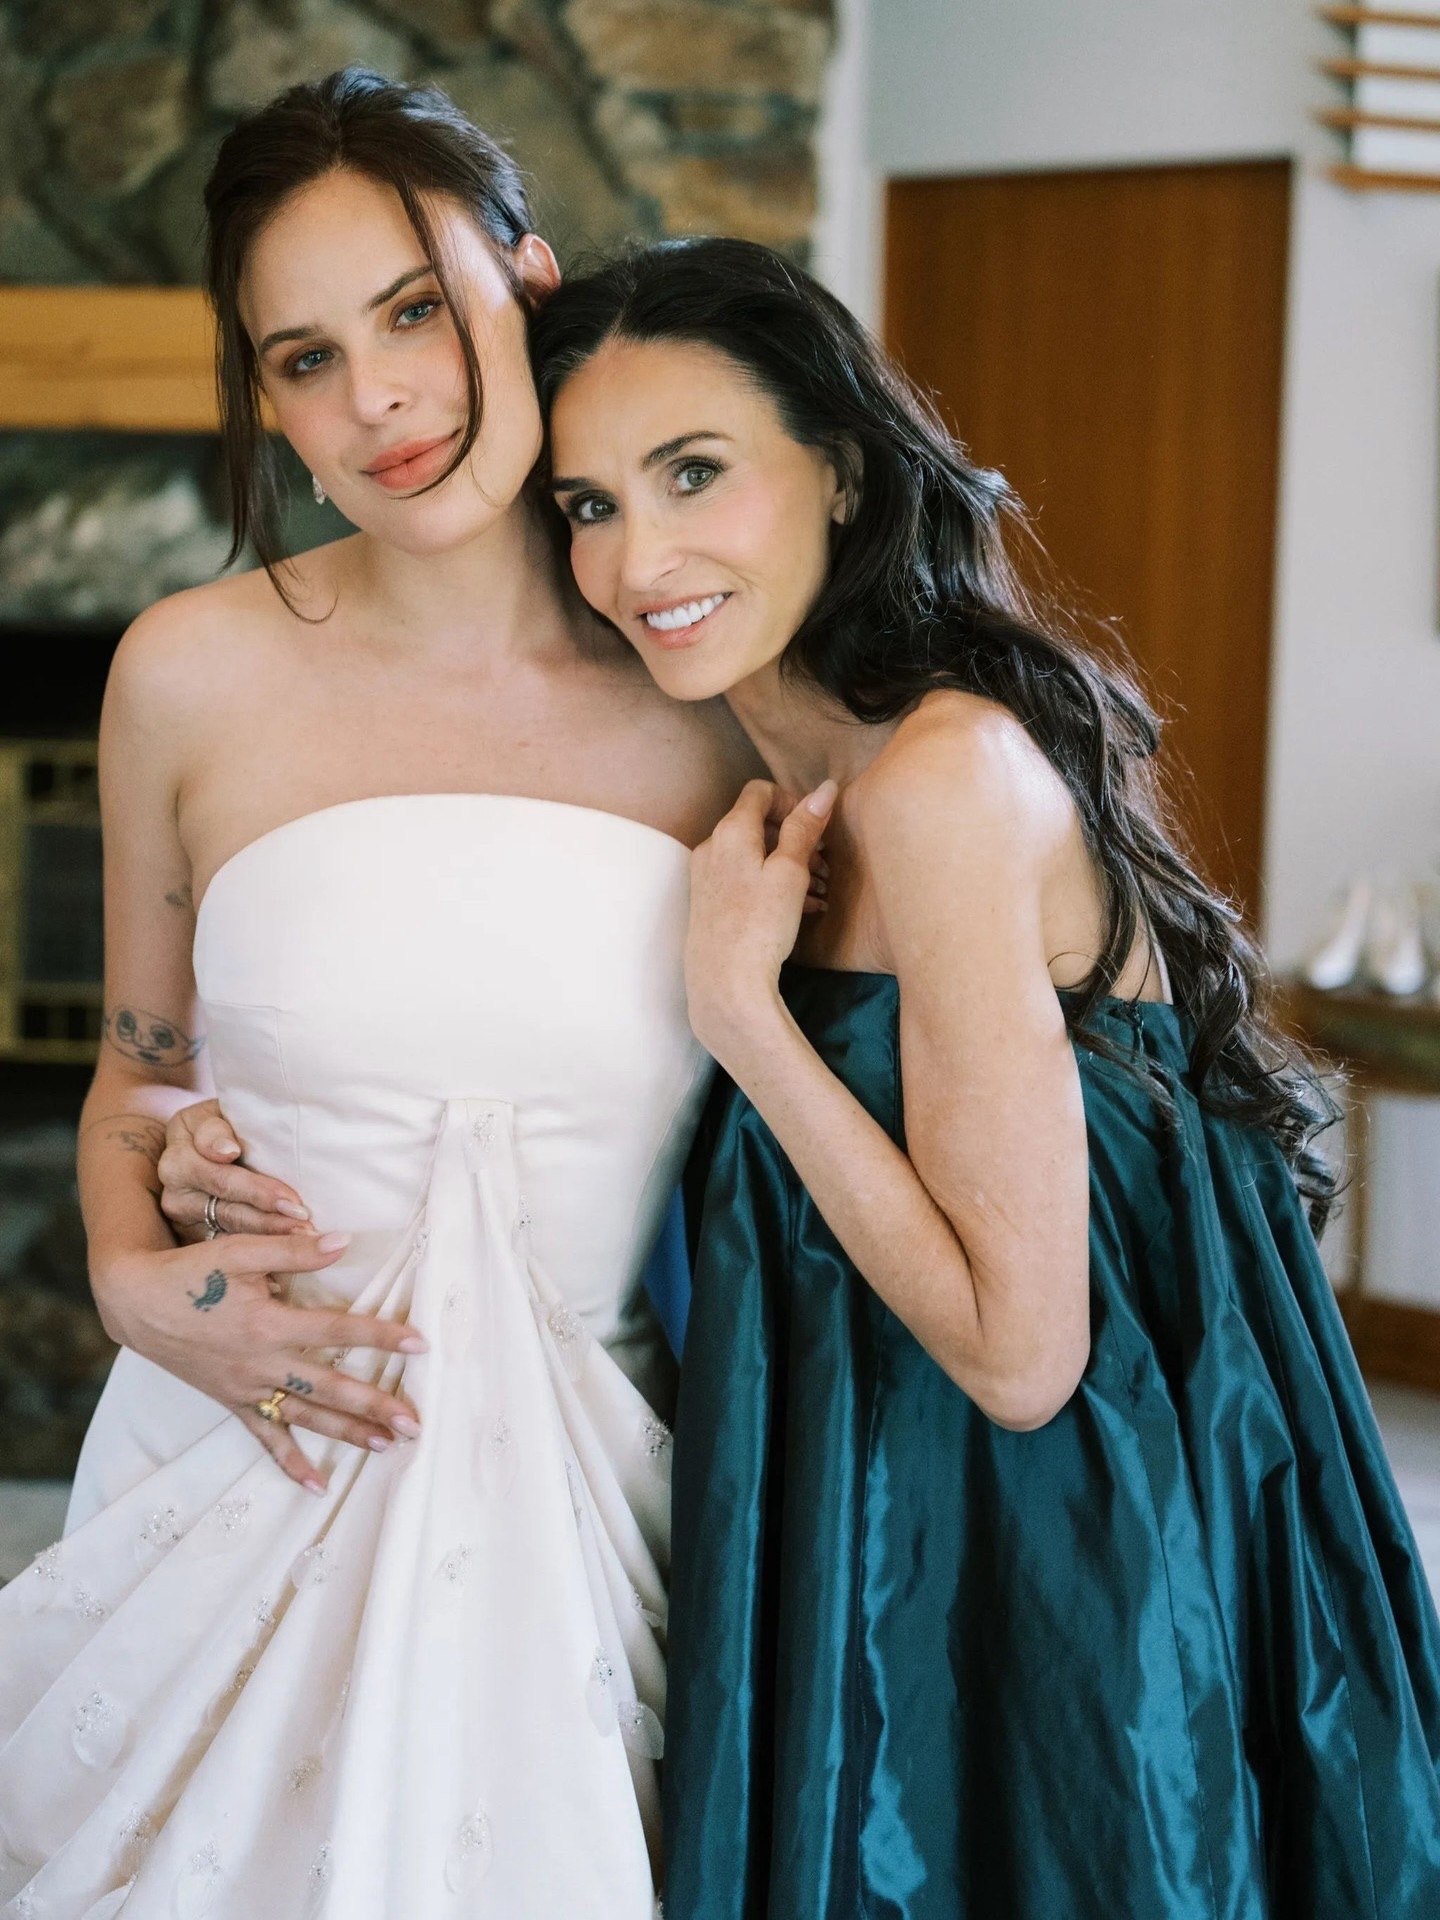
Red Hair, Warm Undertone
Your coloring already tells a sun story, so build on it. Peach and apricot for the base, a soft coral on the peaks, and a golden champagne glow over the top. Let the freckles read through the sheer base instead of covering them, because they sell the sun-warmed effect better than any product could.